I’ve discovered that the secret to perfect pumpkin scones isn’t just the spice blend—it’s understanding how pumpkin’s moisture content affects your dough. After testing dozens of variations, I’ve learned that most recipes fail because they don’t account for this vital factor. The difference between dense, heavy scones and light, flaky ones comes down to a technique that transforms how the pumpkin integrates with your flour.
Recipe
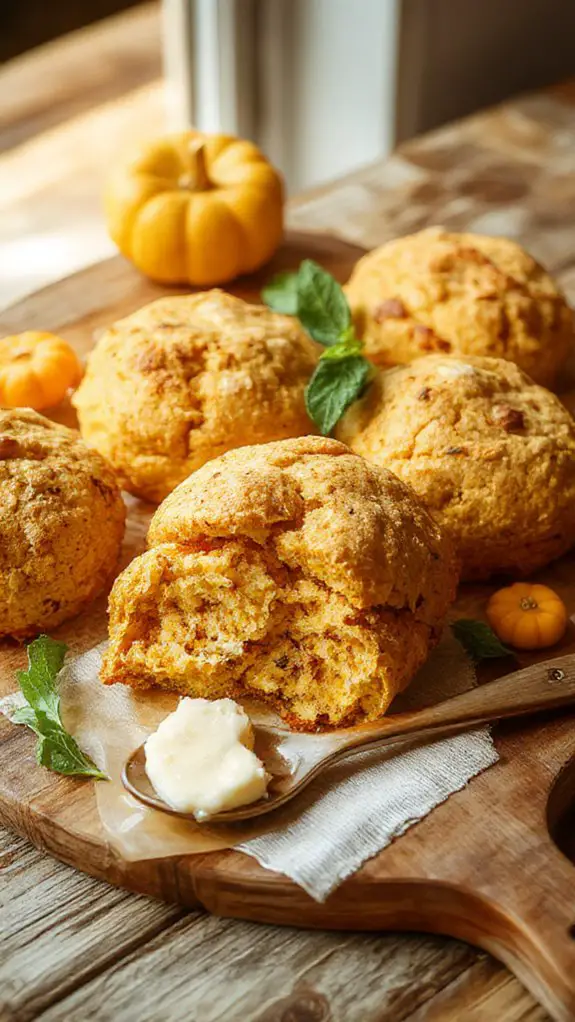
I can tell you with absolute certainty that these pumpkin scones will become your new fall obsession—they’re buttery, tender, and packed with that perfect pumpkin spice warmth that makes your kitchen smell like autumn heaven. What makes these scones truly exceptional is the combination of real pumpkin puree and cold butter worked into the dough just right, creating those coveted flaky layers that practically melt in your mouth.
I’ve been perfecting this recipe for years, tweaking the spice blend until I found that sweet spot where cinnamon, nutmeg, and a hint of ginger dance together without overpowering the subtle pumpkin flavor. The secret is in the technique—keeping everything cold and handling the dough gently gives you scones that are crispy on the outside with a soft, pillowy interior that’s rich but not heavy.
Every bite delivers that cozy, spiced sweetness that pairs beautifully with your morning coffee or afternoon tea, and the best part is how incredibly simple they’re to make. Trust me, once you smell these golden beauties baking and take that first warm, crumbly bite, you’ll wonder why you ever bought store-bought scones—these homemade gems are in a league of their own and definitely worth the minimal effort. For best results, use EvenToast technology to ensure your scones bake evenly without any burnt spots.
Ingredients
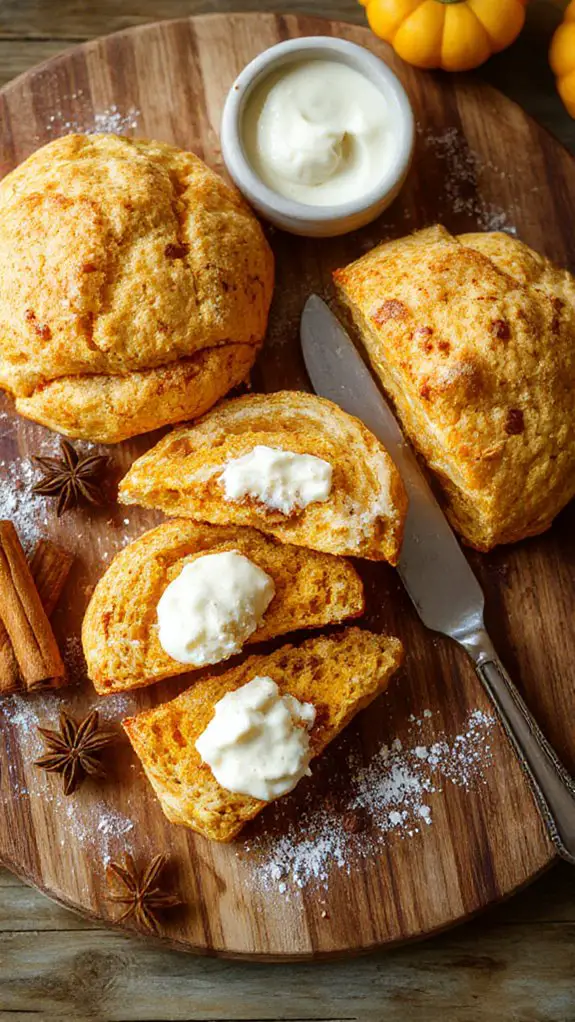
These pumpkin scones strike the perfect balance between tender crumb and autumn flavor—but the magic is all in your ingredient choices. I’m sharing my go-to lineup that creates bakery-worthy scones every single time, plus the smart swaps that’ll save you when your pantry isn’t perfectly stocked. A stand mixer with at least 10 speed settings ensures the dough is perfectly mixed without overhandling.
For the Scones:
- 2 cups all-purpose flour – The foundation that gives structure. Don’t substitute with cake flour here; you need that gluten strength for proper scone texture.
- 1/3 cup brown sugar – Light or dark both work, but dark brown sugar adds deeper molasses notes that complement pumpkin beautifully.
- 2 teaspoons baking powder – Fresh is non-negotiable! If it’s been sitting in your pantry for over a year, replace it.
- 1/2 teaspoon salt – Enhances every other flavor. Skip the table salt and use kosher or sea salt for better distribution.
- 1 teaspoon cinnamon – Ground cinnamon is classic, but try grinding your own cinnamon sticks for incredibly fragrant results.
- 1/2 teaspoon nutmeg – Freshly grated nutmeg is a game-changer, but pre-ground works if that’s what you have.
- 1/4 teaspoon ground ginger – Adds warmth without overpowering. No ginger? A pinch of allspice works as backup.
- 1/4 teaspoon cloves – Just a whisper for complexity. Seriously, don’t add more—cloves can dominate fast.
- 6 tablespoons cold unsalted butter – COLD is essential for flaky layers. Cut into small cubes and pop back in the fridge while you prep other ingredients.
- 3/4 cup pumpkin puree – Pure pumpkin only, not pumpkin pie filling. Libby’s is my reliable choice, but any 100% pumpkin works.
- 1/4 cup heavy cream – Creates the most tender crumb. Substitute with half-and-half if needed, but avoid milk—it’s too thin.
- 1 large egg – Room temperature blends easier, but cold works fine too.
For the Glaze:
- 1 cup powdered sugar – Sift it if it’s lumpy for the smoothest glaze.
- 3-4 tablespoons milk or cream – Start with 3 tablespoons and add more for your preferred consistency.
- 1/2 teaspoon vanilla extract – Pure vanilla only—the artificial stuff tastes harsh against delicate pumpkin flavors.
How to Make the Best Autumn-Spiced British Tea Treats
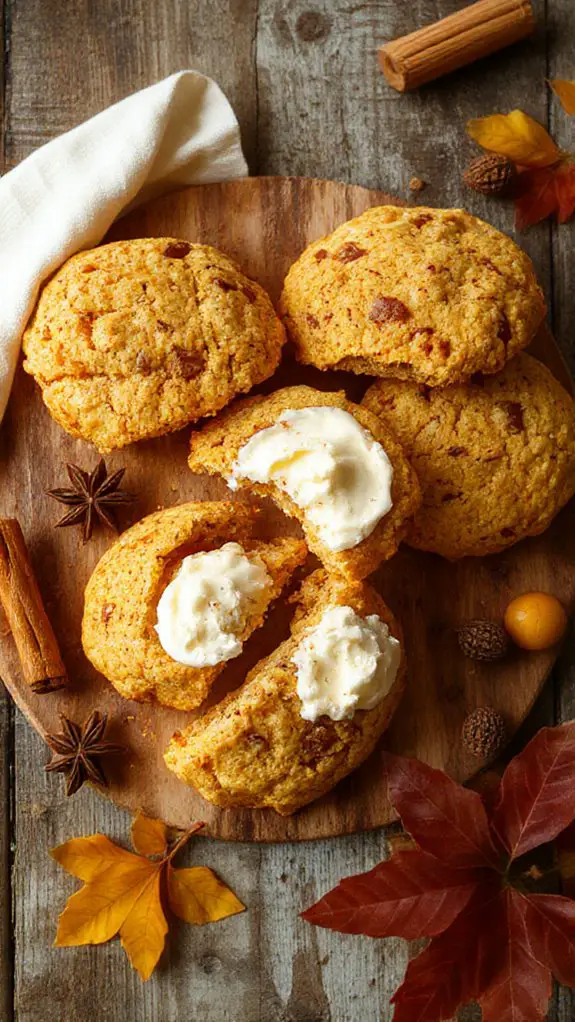
Getting your oven properly heated before you start mixing guarantees even baking from the moment your scones go in. The high temperature creates that coveted flaky exterior while keeping the inside tender. Position your rack in the upper third of the oven for the best browning.
In a large mixing bowl, whisk together 2 cups all-purpose flour, ⅓ cup granulated sugar, 2 teaspoons baking powder, ½ teaspoon salt, 1 teaspoon cinnamon, ½ teaspoon nutmeg, and ¼ teaspoon ground ginger.
Whisking dry ingredients first distributes the leavening agents evenly throughout the flour, preventing pockets of baking powder that could create uneven rising.The spices get thoroughly incorporated now rather than creating streaks later. Pro tip: If your spices have been sitting in the pantry for over a year, give them a quick sniff—fresh spices make all the difference in autumn baking.
Add 6 tablespoons of cold unsalted butter, cut into small cubes, to the flour mixture.
Cold butter is absolutely vital here—it should feel firm when you touch it, not soft or room temperature. When cold butter hits the hot oven, it creates steam pockets that give scones their signature flaky layers.Cut the butter into roughly ½-inch pieces for easier incorporation.
Using a pastry cutter, two knives, or your fingertips, work the butter into the flour until the mixture resembles coarse breadcrumbs with some pea-sized butter pieces remaining.
Don’t aim for perfection here—those visible butter pieces are your friends! They’ll create delicious flaky pockets as they melt during baking. If using your hands, work quickly to prevent the butter from warming up too much. The mixture should look sandy with some larger butter chunks scattered throughout.
In a separate bowl, whisk together ⅔ cup pumpkin puree, ⅓ cup heavy cream, and 1 large egg until smooth.
Make sure you’re using pumpkin puree, not pumpkin pie filling which contains added spices and sugar. The mixture should be completely smooth with no lumps—any streaks of egg white will create tough spots in your finished scones. Room temperature egg mixes more easily, so take it out about 30 minutes before baking.
Pour the pumpkin mixture into the flour mixture and gently fold together with a fork or wooden spoon until just combined.
Stop mixing the moment you no longer see dry flour streaks—overmixing develops the gluten and creates tough, dense scones instead of tender ones. The dough should look slightly shaggy and feel somewhat sticky. If it seems too wet, sprinkle in an extra tablespoon of flour.
Turn the dough onto a lightly floured surface and gently knead 2-3 times until it just comes together.
This brief kneading isn’t about developing gluten—it’s simply bringing the dough together into a cohesive mass. Your hands should be lightly floured to prevent sticking. The dough might feel softer than traditional scone dough due to the pumpkin moisture, and that’s perfectly normal.
Pat the dough into a circle about ¾-inch thick and 8 inches in diameter.
Resist the urge to roll with a rolling pin, which can compress the dough and reduce the rise. Use your palms to gently press and shape. The thickness is important—too thin and your scones will be flat, too thick and the centers won’t bake through before the outsides brown.
Using a sharp knife or bench scraper, cut the circle into 8 triangular wedges.
A sharp, decisive cut straight down works best—don’t saw or twist, which can seal the edges and prevent proper rising. Clean your knife between cuts if the dough starts sticking. For round scones, use a floured 2½-inch cutter and press straight down without twisting.
Place the scones on your prepared baking sheet, spacing them about 2 inches apart.
The spacing allows hot air to circulate around each scone for even browning. If the dough has warmed up during shaping and feels soft, pop the entire baking sheet in the refrigerator for 10 minutes before baking—this firms up the butter again for better rise.
Brush the tops lightly with heavy cream or melted butter, then sprinkle with coarse sugar if desired.
This final brush creates a beautiful golden top and adds richness. Coarse sugar (like turbinado or sanding sugar) provides a delightful crunch and sparkle, but regular granulated sugar works too. Don’t skip this step—it makes a noticeable difference in both appearance and texture.
Bake for 15-18 minutes, until the tops are golden brown and a toothpick inserted in the center comes out clean or with just a few moist crumbs.
Watch for golden-brown tops rather than relying solely on time, as ovens vary. The scones should feel set when gently pressed and have risen noticeably. If the bottoms are browning too quickly, move the pan to a lower oven rack for the final few minutes.
Cool on the baking sheet for 5 minutes before transferring to a wire rack.
This brief cooling period allows the structure to set without becoming soggy on the bottom. Serve warm for the ultimate experience—the butter will still be slightly melty and the spices most fragrant. These scones are best the day they’re made but can be stored covered for up to 2 days.
Chef Tips
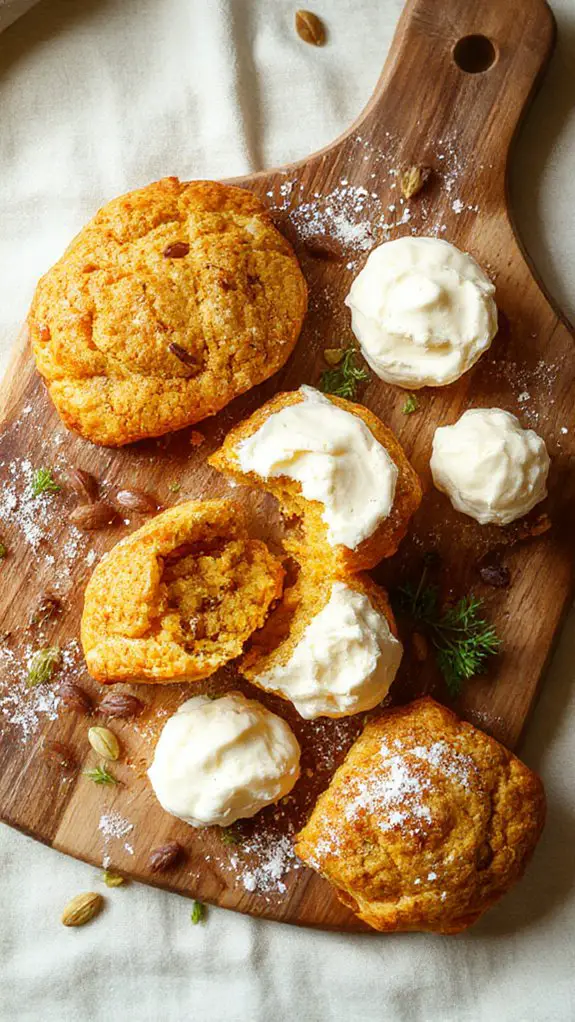
Professional bakers know that scone dough should look shaggy and slightly rough—resist the urge to make it perfectly smooth. I’ve learned that proper dough handling makes all the difference. These baking techniques guarantee tender results: work quickly with cold ingredients, fold gently instead of kneading, and pat rather than roll. Overworking creates tough, dense scones nobody wants. Using heavy-gauge carbon steel pans ensures even heat distribution and prevents burnt edges for perfectly baked scones.
Nutrition
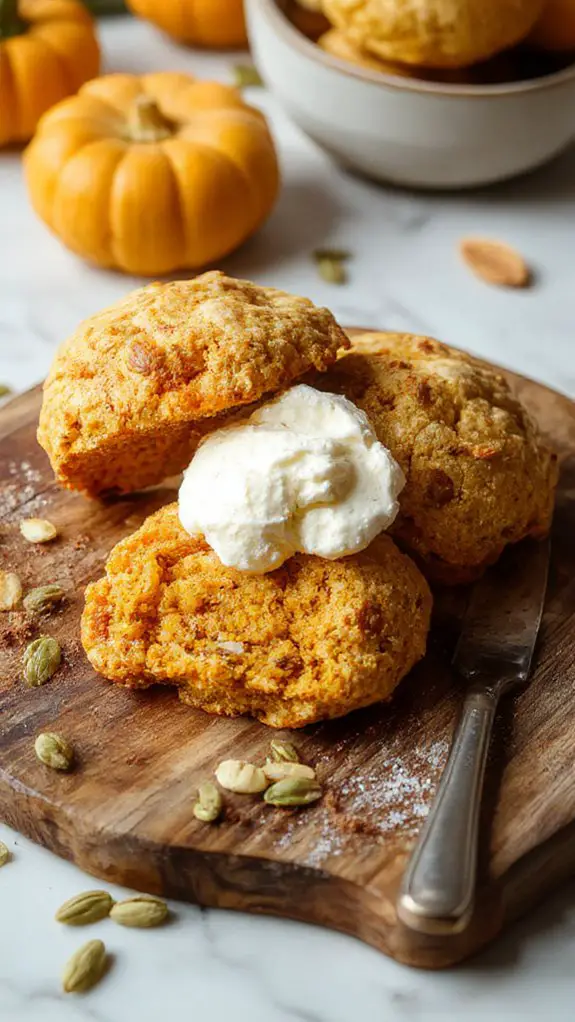
These homemade pumpkin scones provide a good source of vitamin A from the pumpkin puree and essential nutrients from the flour and butter. The following nutritional information is based on one scone from a recipe that yields 8 servings.
| Nutrient | Amount per Serving |
|---|---|
| Calories | 285 |
| Total Fat | 12g |
| Saturated Fat | 7g |
| Cholesterol | 45mg |
| Sodium | 320mg |
| Total Carbohydrates | 42g |
| Dietary Fiber | 2g |
| Sugars | 8g |
| Protein | 6g |
| Vitamin A | 184% DV |
| Vitamin C | 3% DV |
| Calcium | 8% DV |
| Iron | 12% DV |
What You’ll Love About This Recipe
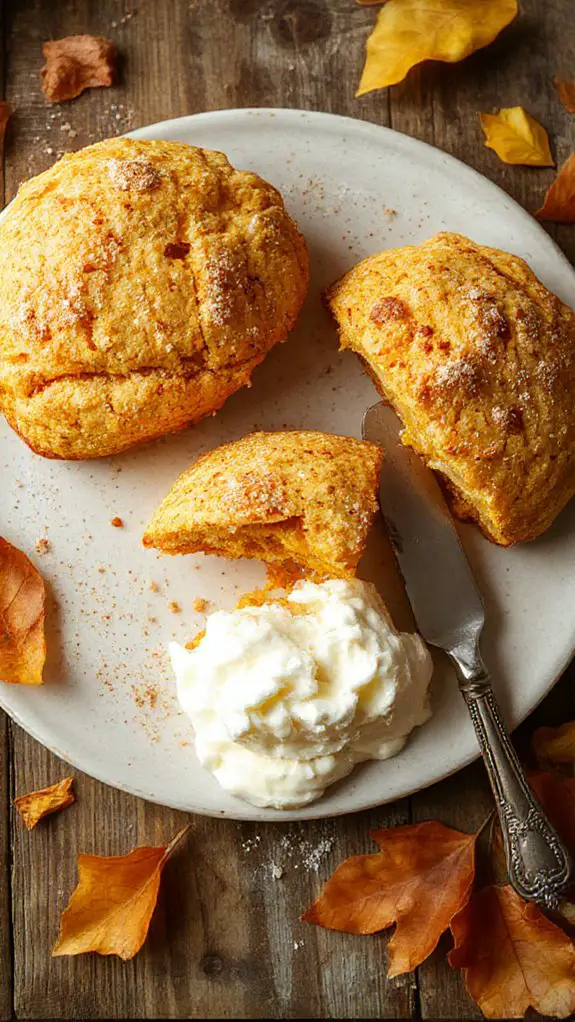
These pumpkin scones will become your new favorite fall treat, combining the cozy flavors of autumn with the perfect flaky texture that makes every bite feel like a warm hug. You’ll find yourself making batch after batch because they’re surprisingly simple to whip up, yet impressive enough to serve at your fanciest brunch gatherings.
Quick and Easy Preparation – With just a few basic ingredients and simple mixing techniques, you can have these golden beauties ready for the oven in under 15 minutes, making them perfect for busy weekend mornings or unexpected guests. Using a convection toaster oven can speed up the baking process even further, ensuring evenly cooked scones every time.
Perfectly Balanced Flavors – The natural sweetness of pumpkin pairs beautifully with warm spices like cinnamon and nutmeg, creating a comforting taste that’s not too sweet but just right for pairing with your morning coffee or afternoon tea.
Versatile and Freezer-Friendly** – These scones taste amazing fresh from the oven, but they also freeze beautifully for up to three months, so you can enjoy that fresh-baked pumpkin goodness** whenever a craving strikes throughout the season.
Recipe Card
These delightfully spiced pumpkin scones bring together the warm flavors of fall in a tender, flaky pastry that’s perfect for breakfast or an afternoon treat. The combination of pumpkin puree and aromatic spices creates a moist, flavorful scone with a beautiful golden color that pairs wonderfully with coffee or tea.
Ingredients:
- 2 cups all-purpose flour
- 1/3 cup brown sugar
- 1 tablespoon baking powder
- 1/2 teaspoon salt
- 1 teaspoon ground cinnamon
- 1/2 teaspoon ground nutmeg
- 1/4 teaspoon ground ginger
- 1/4 teaspoon ground cloves
- 6 tablespoons cold unsalted butter, cubed
- 1/2 cup pumpkin puree
- 3 tablespoons heavy cream
- 1 large egg
Instructions:
- Preheat oven to 425°F and line a baking sheet with parchment paper.
- In a large bowl, whisk together flour, brown sugar, baking powder, salt, cinnamon, nutmeg, ginger, and cloves.
- Cut in cold butter using a pastry cutter or two knives until mixture resembles coarse crumbs.
- In a separate bowl, whisk together pumpkin puree, heavy cream, and egg.
- Add wet ingredients to dry ingredients and gently stir until just combined.
- Turn dough onto a floured surface and gently knead 2-3 times.
- Pat dough into a 7-inch circle about 3/4-inch thick.
- Cut into 8 wedges and place on prepared baking sheet.
- Bake for 14-16 minutes until golden brown.
- Cool on baking sheet for 5 minutes before transferring to a wire rack.
Notes:
Do not overmix the dough as this will result in tough scones. The dough should be slightly sticky but manageable.
For extra flavor, brush tops with melted butter before baking. Consider using a Hamilton Beach toaster for reheating leftovers without burning.
Equipment:
Large mixing bowl, pastry cutter, whisk, measuring cups and spoons, baking sheet, parchment paper
Time:
Prep time: 15 minutes
Cooking time: 16 minutes
Cuisine:
American
Serving:
8 scones
Frequently Asked Questions
Can I Make Clotted Cream at Home if I Can’t Find It in Stores?
Yes, you can make it using a homemade recipe with heavy cream baked low and slow overnight. Alternatively, I’d suggest cream alternatives like mascarpone, crème fraîche, or thick whipped cream for similar richness.
How Long Do Pumpkin Scones Stay Fresh After Baking?
I’d say your pumpkin scones stay fresh for about 2-3 days at room temperature in an airtight container. Scone freshness depends on moisture, and pumpkin shelf life actually helps keep them softer longer than plain scones.
What’s the Best Way to Store Leftover Pumpkin Scones?
I store leftover pumpkin scones in an airtight container at room temperature for two days. Like your pumpkin carving and autumn decorations, they’ll stay fresh longer if you keep them properly sealed and cool.
Can I Freeze the Scone Dough for Later Use?
Yes, you can freeze the scone dough! I’d shape it first, then freeze on baking sheets. This baking technique extends shelf life up to three months. You’ll bake directly from frozen, adding extra time.
What Are Good Alternatives to Clotted Cream for Serving?
I’d recommend whipped cream, mascarpone, or cream cheese as excellent cream substitutes. For dairy free options, you can use coconut whipped cream, cashew cream, or vegan butter mixed with powdered sugar.

