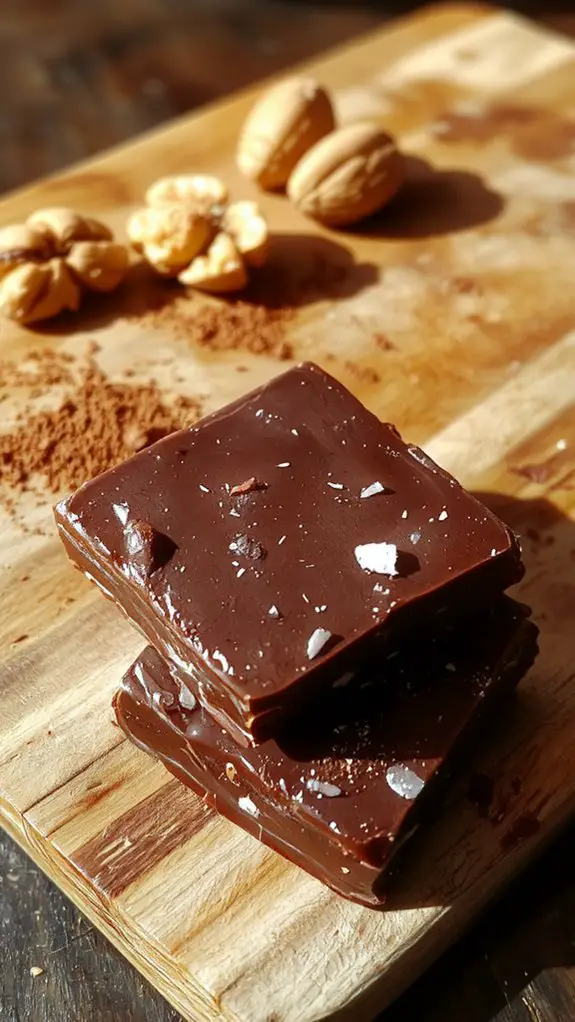
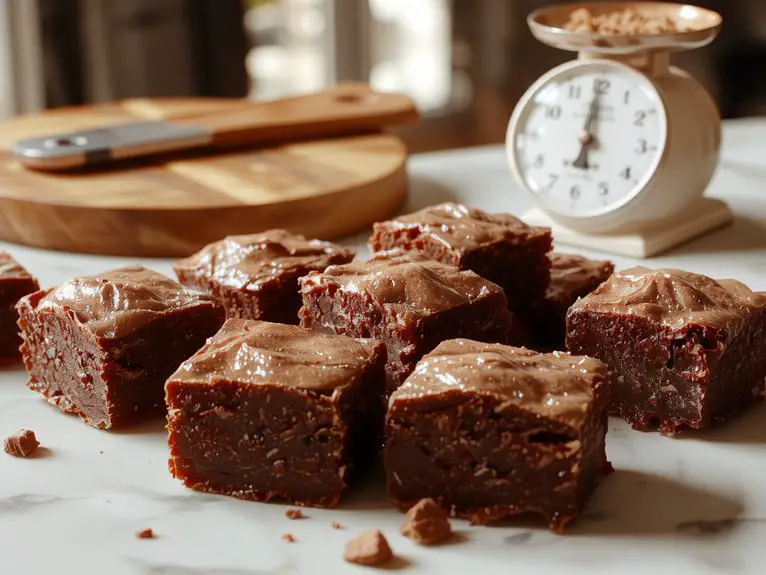
I’ve always believed that the best fudge comes from a simple recipe done right. Combining sugar, chocolate, and a few key ingredients can create something truly decadent, but the details matter. I’ll share the method that’s never failed me, along with a few tips to guarantee your fudge turns out smooth and rich every time. There’s a secret to the texture that might surprise you.
Recipe
There’s something magical about homemade fudge—rich, creamy, and melt-in-your-mouth delicious, it’s the kind of treat that makes people’s eyes light up. Forget store-bought versions; this recipe is the real deal, with just the right balance of sweetness and a velvety texture that’ll have you sneaking bites straight from the pan.
The secret? High-quality chocolate, a pinch of sea salt, and a foolproof method that guarantees perfect results every time. Whether you’re gifting it or keeping it all to yourself (no judgment here), this fudge is pure indulgence.
Trust me, once you try it, you’ll never go back to anything else. Let’s make some magic happen!
Ingredients
Great fudge starts with the right ingredients—quality matters here, and a few insider tricks will take your batch from good to *legendary*. This recipe leans on classic pantry staples, but a couple of key choices make all the difference.
- Granulated sugar: The backbone of your fudge. Avoid substitutes here—the crystalline structure is essential for that perfect texture.
- Unsalted butter: Always unsalted, so you control the flavor. European-style butter (higher fat content) adds extra richness.
- Evaporated milk: Not to be confused with sweetened condensed milk! The concentrated creaminess without added sugar is non-negotiable.
- Semi-sweet chocolate chips: Opt for high-quality (60% cacao or higher) for depth. Cheap chips can make fudge taste waxy.
- Marshmallow fluff: The secret weapon for that iconic smooth, velvety chew. Skip the jarred stuff—homemade fluff is next-level (but store-bought works in a pinch).
- Vanilla extract: Pure, not imitation. It’s the finish that ties everything together.
- Salt: A pinch to balance the sweetness. Flaky sea salt on top? *Chef’s kiss*.
Pro swaps: Out of evaporated milk? Heavy cream + a splash of whole milk can sub (reduce heat to avoid curdling).
No marshmallow fluff? Whisk 1 cup mini marshmallows into the hot sugar mixture until melted.
Non-negotiable: Don’t skimp on the chocolate or butter—this is where the magic happens.
And *always* use a candy thermometer for foolproof results.
How to Make the Best Classic Chocolate Fudge Recipe

1. Line the Pan: Use parchment paper to line an 8×8-inch baking pan, leaving an overhang on the sides for easy removal later. This guarantees the fudge doesn’t stick and makes cleanup a breeze.
*Pro Tip:* Lightly grease the pan before adding the parchment paper to help it stay in place.
2. Melt the Chocolate: In a medium saucepan, combine the chocolate chips, butter, and sweetened condensed milk. Warm over low heat, stirring constantly, until fully melted and smooth.
*Watch-Out Warning:* Avoid high heat to prevent the chocolate from seizing or burning.
3. Add Vanilla and Salt: Remove the saucepan from the heat and stir in the vanilla extract and a pinch of salt. The vanilla enhances the chocolate flavor, and the salt balances the sweetness.
*Why It Matters:* Adding vanilla off the heat preserves its aromatic compounds for maximum flavor.
4. Mix in Optional Add-Ins: If desired, fold in nuts, marshmallows, or other mix-ins at this stage. Stir gently to distribute evenly without overmixing.
*Flexibility:* Customize with your favorite add-ins or keep it classic for pure chocolatey goodness.
5. Pour and Smooth: Transfer the mixture to the prepared pan, spreading it evenly with a spatula. Tap the pan lightly on the counter to remove any air bubbles.
*Visual Cue:* The surface should be smooth and level for a professional finish.
6. Chill to Set: Refrigerate the fudge for at least 2 hours, or until firm. This step secures the fudge sets properly and cuts cleanly.
*Time-Saving Trick:* If you’re in a hurry, place it in the freezer for 30-45 minutes, but don’t let it freeze solid.
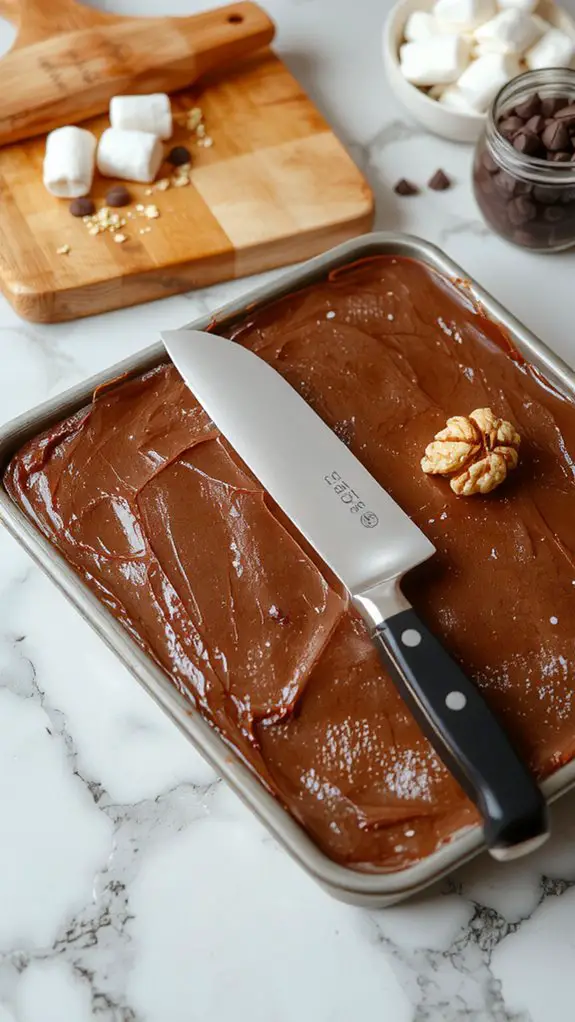
7. Cut and Serve: Use the parchment paper overhang to lift the fudge out of the pan. Cut into small squares with a sharp knife for perfect bite-sized pieces.
*Pro Tip:* Run the knife under hot water and wipe it dry between cuts for clean edges.
Nutrition
Homemade fudge is a delicious treat, but it’s important to understand its nutritional value. Below is the nutrition breakdown per serving.
| Nutrition | Per Serving |
|---|---|
| Calories | 120 |
| Total Fat | 5g |
| Saturated Fat | 3g |
| Cholesterol | 10mg |
| Sodium | 25mg |
| Total Carbs | 18g |
| Sugars | 16g |
| Protein | 1g |
Chef Tips
When making homemade fudge, I always recommend using a heavy-bottomed saucepan to prevent scorching and guarantee even heat distribution.
I also suggest using a candy thermometer for precision; the mixture should reach 235°F for perfect texture.
Avoid stirring once it boils to prevent graininess.
Finally, I prefer using unsalted butter to control the saltiness, and I always let the fudge cool completely before cutting for clean, even squares.


