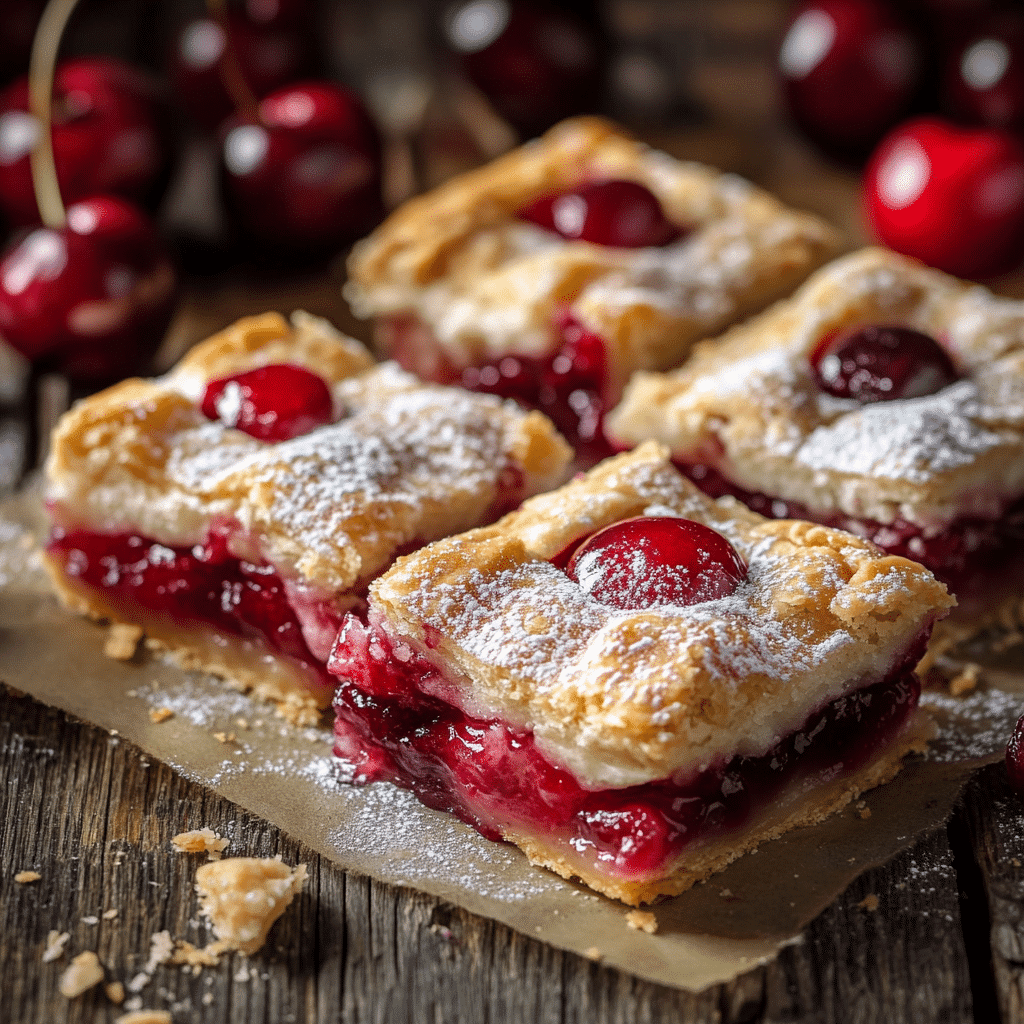
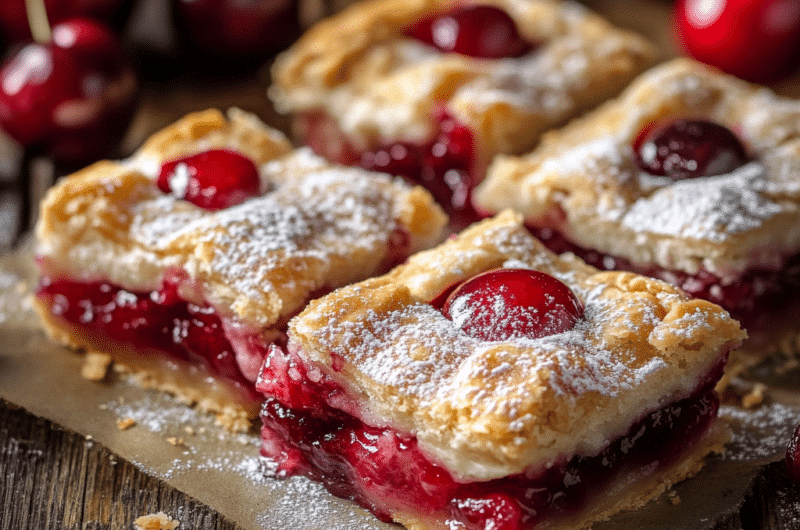
I absolutely love making cherry pie bars! They blend the classic, sweet taste of cherry pie with the fun of a bar you can hold. It’s super easy—just mix butter, sugar, and flour, then layer on cherry pie filling. I remember the first time I made them; they disappeared so fast at our family gathering! You can bake them in about 35 minutes, and they’re perfect with a scoop of vanilla ice cream or a dusting of powdered sugar. Trust me, your friends and family will be impressed. Stick with me, and I’ll share more tasty tips!
What You’ll Love About This Recipe
One of the things I absolutely love about this Cherry Pie Bars recipe is its perfect balance of sweet and tart flavors, which is enhanced by the health benefits of cherries.
Plus, the easy preparation means I can whip them up anytime!
Here are some things you’ll love, too:
- Delicious flavors that brighten your day.
- Simple steps – no fuss!
- Perfect for any occasion.
- A delightful way to impress friends.
Cherry Pie Bars
Course: DessertCuisine: American12 bars
servings15
minutes35
minutes215
kcalCherry Pie Bars are a delightful dessert that combines the classic flavors of cherry pie with the ease of bars, making them perfect for gatherings or simply indulging your sweet tooth.
Ingredients
2 cups all-purpose flour
1 cup granulated sugar
1/2 cup unsalted butter, softened
1 egg
1/2 teaspoon salt
1 teaspoon baking powder
1 can (21 ounces) cherry pie filling
1 teaspoon vanilla extract
Powdered sugar for dusting (optional)
Directions
- Preheat the oven to 350°F (175°C). Grease and flour a 9×13 inch baking pan.
- In a mixing bowl, cream together the softened butter and granulated sugar until light and fluffy.
- Add the egg and vanilla extract, and mix until combined.
- In another bowl, whisk together the flour, salt, and baking powder. Gradually add this mixture to the wet ingredients, stirring until just combined.
- Spread approximately two-thirds of the dough across the bottom of the prepared pan. Top with the cherry pie filling, spreading evenly.
- Crumble the remaining dough over the cherry filling.
- Bake in the preheated oven for 30-35 minutes or until the top is lightly golden.
- Allow to cool before cutting into bars. Dust with powdered sugar if desired.
Notes
- For an added touch, you can drizzle a simple icing over the cooled bars or serve them with whipped cream.
- Feel free to use fresh cherries if they’re in season.
Equipment
To make Cherry Pie Bars successfully, you’ll need a few essential pieces of equipment. Trust me, having the right tools makes the process smoother and way more fun.
Here’s what I recommend:
- A pie dish
- A baking sheet
- A mixing bowl
- A spatula
With these handy, you’re all set to whip up some deliciousness!
Happy baking!
What to Serve With This Recipe
When I whip up a batch of cherry pie bars, I love to think about what to serve alongside them.
A cold glass of milk or a scoop of vanilla ice cream really complements the sweet and tart flavors!
Plus, adding a sprinkle of powdered sugar on top not only makes them look fancy but tastes amazing too.
Ideal Beverage Pairings
Often, I find that the right beverage can elevate the experience of enjoying cherry pie bars to a whole new level.
A light dessert wine pairs beautifully with the cherry flavor profiles, enhancing that sweet-tart goodness.
I love sipping a chilled Riesling; it’s invigorating and easy to enjoy.
Complementary Side Dishes
While a slice of cherry pie bars is delightful on its own, pairing them with complementary side dishes can enhance the overall experience.
I love serving them with whipped cream or a scoop of vanilla ice cream.
For seasonal accompaniments, fresh berries make great pairing suggestions, adding a burst of flavor.
Just grab your friends, and enjoy the sweet goodness together!
Garnishes for Presentation
As you prepare to serve your cherry pie bars, think about how a few simple garnishes can elevate their presentation and make them even more inviting.
I love sprinkling powdered sugar on top for a sweet touch, or adding fresh mint leaves for color.
You can also drizzle warm chocolate or serve with a scoop of vanilla ice cream—great garnish options to impress!
Frequently Asked Questions
Can I Use Fresh Cherries Instead of Canned Pie Filling?
I love using fresh cherries instead of canned filling. Did you know 70% of cherry varieties can be used in pie recipes? With fresh cherry preparation, you can create delightful cherry pie variations that truly shine!
How Do I Store Leftover Cherry Pie Bars?
To store leftovers, I recommend wrapping them tightly in plastic wrap or aluminum foil. These tips help with flavor preservation, keeping them delicious for a few days. Enjoy them whenever you crave that sweet treat!
Can I Freeze Cherry Pie Bars for Later?
I love freezing treats for later. For freezing tips, wrap them tightly in plastic, then foil. When I’m ready to enjoy, I thaw them in the fridge overnight for the best texture.
What Is the Best Way to Cut the Bars?
Did you know that proper cutting techniques can reduce waste by up to 30%? I like to cut my bars into uniform portion sizes, ensuring everyone gets an equal share while making it visually appealing.
How Long Do Cherry Pie Bars Last at Room Temperature?
When it comes to pie shelf life, I’ve found that most treats last around 2 to 3 days at room temperature. For ideal cherry preservation, I recommend chilling them after that to keep them fresh longer.


