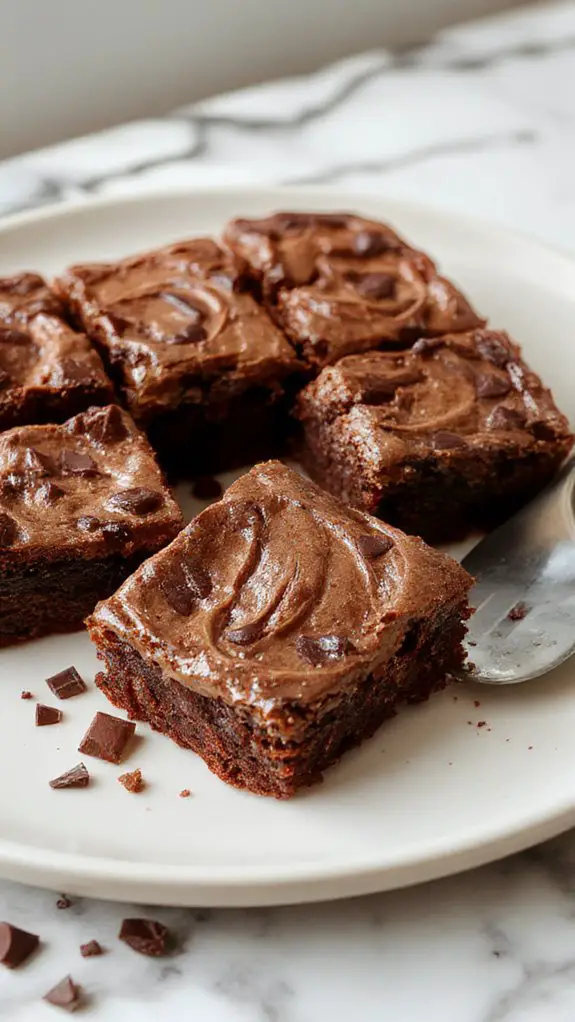
I’ve discovered that the secret to creating restaurant-quality chocolate mousse brownies lies in mastering the contrast between textures. Most home bakers struggle with either dense, heavy brownies or mousse that won’t hold its shape. After countless kitchen experiments, I’ve perfected a technique that delivers both a fudgy base and silky-smooth topping that won’t collapse. The method I’m about to share will transform how you approach this challenging dessert.
Recipe
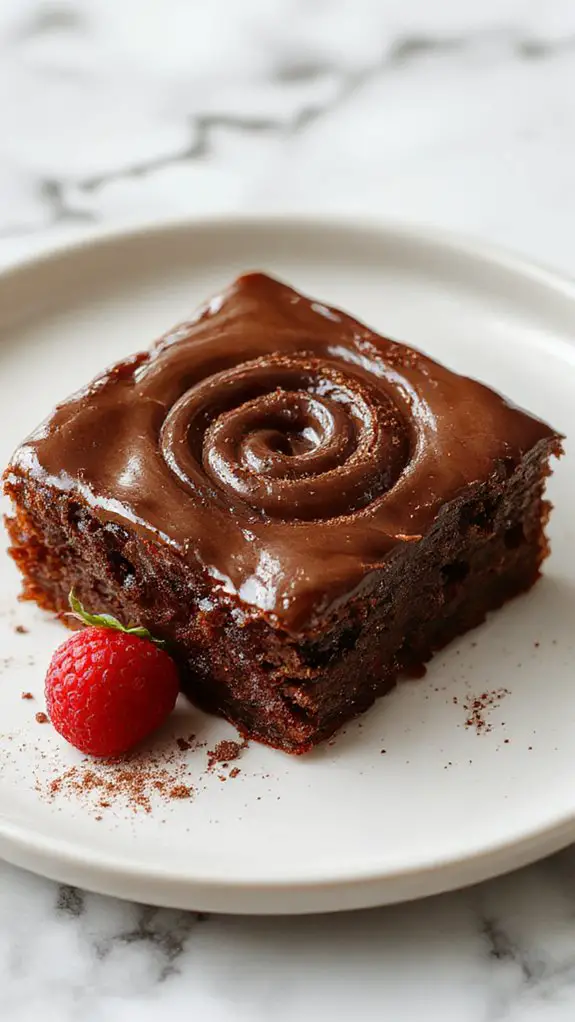
I can vouch for these brownies and tell you with 100% surety that you’ll fall in love with them after just one bite. These aren’t your average brownies – they’re dense, fudgy chocolate brownies topped with the silkiest, most decadent chocolate mousse that practically melts on your tongue.
What makes these truly special is the contrast between the rich, chewy brownie base and that cloud-like mousse layer that’s made with real cream and high-quality chocolate, not some artificial mix. I’ve been perfecting this recipe for years, and I genuinely believe that dessert should be an experience, not just an afterthought.
The moment you cut into these beauties, you’ll see that perfect contrast – the dark, intense brownie giving way to the lighter, airy mousse that’s so smooth it’s almost like eating chocolate air. The flavor is pure chocolate bliss from top to bottom, with each layer complementing the other without being overwhelming or too sweet.
Trust me, whether you’re a novice baker or someone who’s been in the kitchen for decades, this recipe is totally doable and absolutely worth the effort – your family and friends will think you’ve secretly enrolled in pastry school.
Ingredients
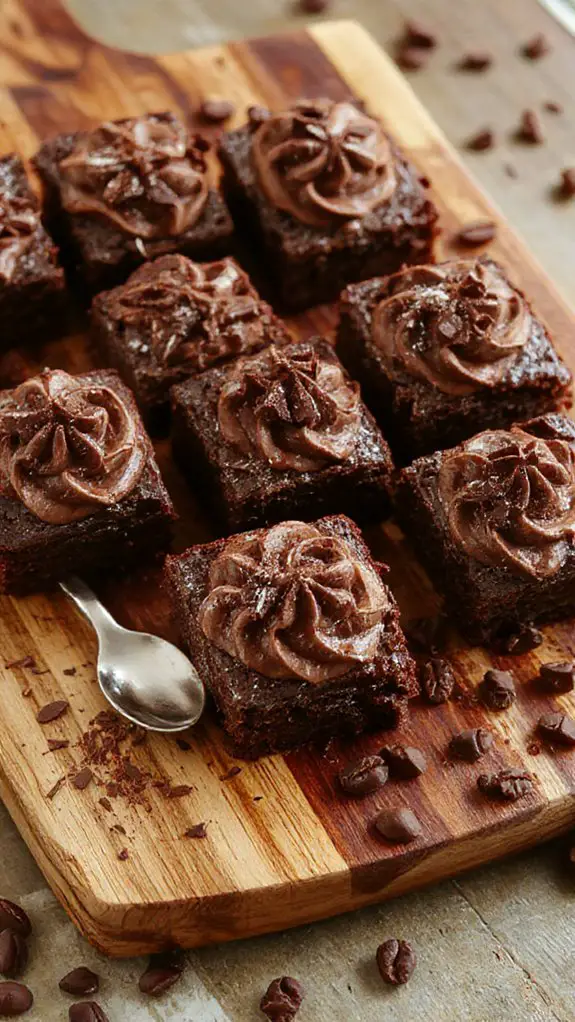
These brownies are all about creating two distinct yet harmonious layers—a fudgy brownie base that serves as the perfect foundation for an airy, decadent chocolate mousse topping. The secret to success lies in using quality ingredients and understanding how each component contributes to the final masterpiece.
I’m passionate about using real chocolate here rather than just cocoa powder because it creates that glossy, professional finish that makes these brownies absolutely irresistible. For the best results, ensure your blender motor power can handle the heavy ingredients seamlessly.
For the Brownie Base:
- Unsalted butter – European-style butter with higher fat content creates the richest, most tender crumb
- Dark chocolate (70% cocoa) – This is non-negotiable! Baking chocolate or high-quality bars melt beautifully and provide complex flavor
- Granulated sugar – Creates that coveted crackly top when whipped properly with eggs
- Large eggs – Room temperature eggs incorporate more easily and create better structure
- Vanilla extract – Pure vanilla only—the artificial stuff will muddy these sophisticated flavors
- All-purpose flour – Just enough to bind everything together without making them cakey
- Cocoa powder – Dutch-processed gives deeper color, but natural works if that’s what you have
- Salt – A pinch enhances every chocolate note
For the Chocolate Mousse Layer:
- Heavy cream – Must be at least 35% fat content for proper whipping—this isn’t the place to go light!
- Semi-sweet chocolate – Slightly sweeter than the brownie base to balance the overall flavor profile
- Egg yolks – Creates that silky, custard-like texture that makes mousse so luxurious
- Powdered sugar – Dissolves instantly and won’t leave any grittiness
- Vanilla extract – Just a touch to complement the chocolate
Substitution Notes: No heavy cream? You can use 3/4 cup whole milk mixed with 1/4 cup melted butter, though the texture won’t be quite as rich.
For a lighter version, try using 70% dark chocolate in the mousse layer, but reduce the powdered sugar slightly to compensate for the extra sweetness.
How to Make the Best Rich Double-Layer Dessert Bars
Preheat your oven to 350°F and line an 8×8-inch baking pan with parchment paper, leaving overhang for easy removal.
Getting your oven ready first guarantees it’s perfectly heated when your brownies are ready to bake. The parchment overhang acts like handles, making it a breeze to lift out your finished bars without breaking them. Pro tip: Lightly grease the pan before adding parchment to help it stay in place.
Melt 6 oz dark chocolate and ½ cup butter together in a double boiler or microwave, stirring until completely smooth.
This gentle melting method prevents the chocolate from seizing or burning, which would create a grainy texture in your brownies. If using the microwave, heat in 30-second intervals and stir between each one. The mixture should be glossy and silky—any lumps will show up in your final brownies.
In a large bowl, whisk together 2 eggs and ¾ cup granulated sugar until the mixture becomes pale and slightly thickened.
This whisking step incorporates air and helps dissolve the sugar, creating that classic brownie texture with a slightly crackly top. You’ll know it’s ready when the mixture lightens in color and falls in ribbons when you lift the whisk—this takes about 2-3 minutes of vigorous whisking.
Slowly pour the melted chocolate mixture into the egg mixture, whisking constantly to prevent the eggs from cooking.
Adding the chocolate gradually while whisking prevents you from accidentally scrambling the eggs with hot chocolate. The key is to pour in a thin, steady stream while whisking continuously. This creates a smooth, homogeneous base for your brownies.
Sift together ½ cup all-purpose flour, 2 tablespoons cocoa powder, and ¼ teaspoon salt, then fold into the chocolate mixture until just combined.
Sifting eliminates lumps and guarantees even distribution of the cocoa powder, preventing bitter spots in your brownies. Fold gently with a rubber spatula using a cutting and turning motion—you should see no flour streaks, but don’t overmix or your brownies will be tough instead of fudgy.
Pour the brownie batter into your prepared pan and spread evenly, then bake for 22-25 minutes until a toothpick inserted 2 inches from the edge comes out with a few moist crumbs.
An even layer guarantees uniform baking, so take a moment to spread the batter into corners. The toothpick test is essential—the center should still be slightly underdone since brownies continue cooking from residual heat. Overbaking creates dry, cakey brownies instead of the fudgy texture you want.
Cool the brownies completely in the pan while you prepare the mousse layer—this step is non-negotiable for clean slicing later.
Patience here pays off tremendously. Warm brownies will cause the mousse to melt and create a messy disaster. Use this cooling time (about 45 minutes) to make your mousse. The brownies should feel room temperature to the touch before proceeding.
For the mousse, melt 4 oz dark chocolate and let it cool slightly while you whip 1 cup heavy cream with 2 tablespoons powdered sugar to soft peaks.
Soft peaks mean the cream holds its shape but the tips curl over when you lift the beater. Don’t overwhip to stiff peaks or the mousse will be dense. For even heat distribution, ensure your baking sheet is placed in the center of the oven for consistent results. The chocolate should be just warm to touch—too hot and it will deflate your whipped cream when combined.
Gently fold the cooled melted chocolate into the whipped cream in three additions, maintaining the airy texture.
Adding the chocolate gradually helps maintain the mousse’s light texture. Use a rubber spatula and fold from bottom to top, rotating the bowl as you go. A few streaks are better than overmixed, dense mousse. The final mixture should be fluffy and hold soft peaks.
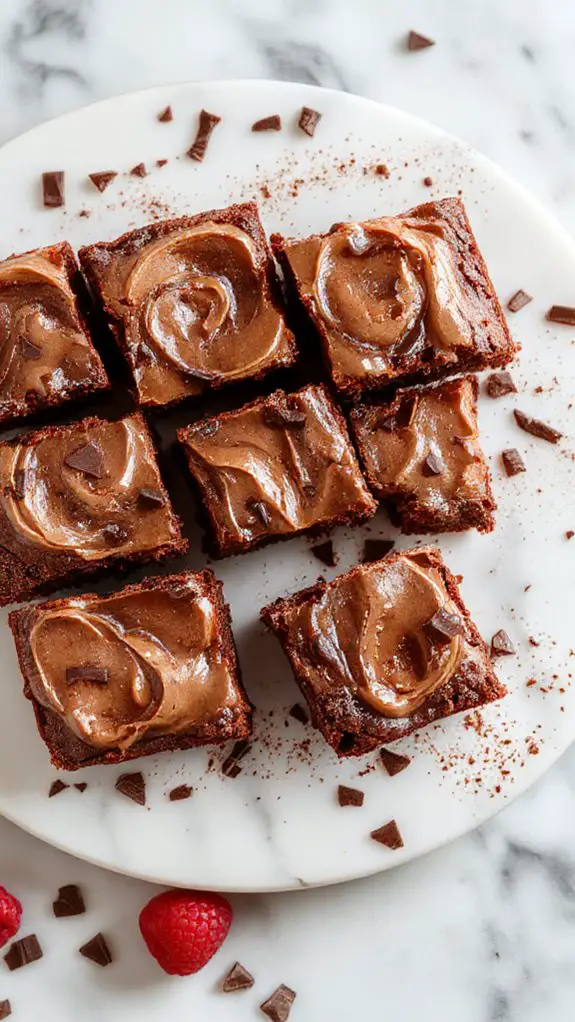
Spread the chocolate mousse evenly over the cooled brownie base, creating smooth swirls with an offset spatula if desired.
This is your chance to make it beautiful—smooth for a classic look, or create decorative swirls for visual appeal. An offset spatula works best, but the back of a spoon works too. Don’t press too hard or you’ll mix the layers together.
Refrigerate the assembled bars for at least 2 hours or overnight before cutting into squares with a sharp, clean knife.
Chilling sets the mousse layer and makes clean cutting possible. Wipe your knife clean between cuts for professional-looking squares. For extra-clean cuts, run the knife under warm water and dry it between slices. These bars actually improve after a night in the fridge as the flavors meld together.
Chef Tips
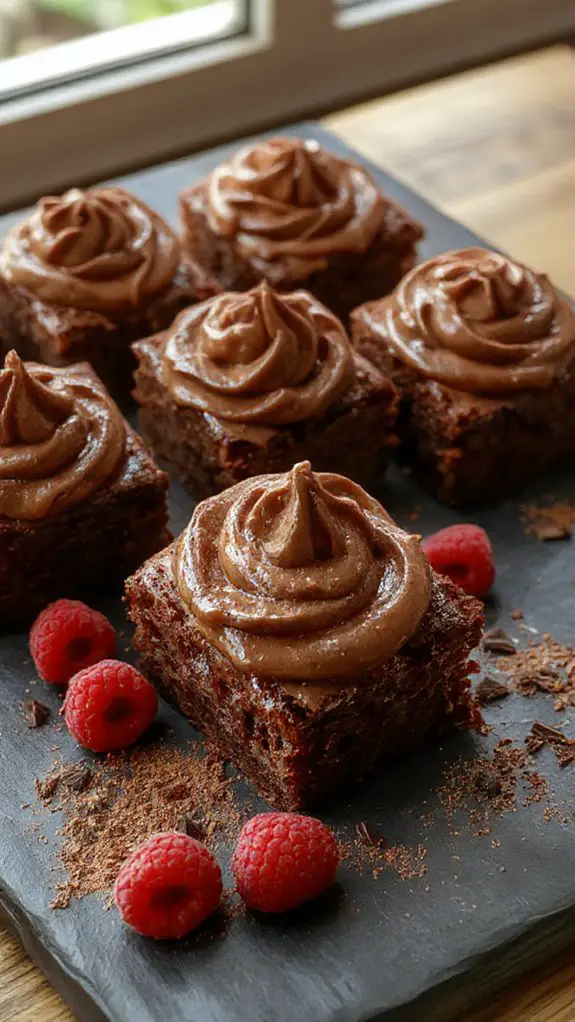
While these brownies are already decadent on their own, I’ve discovered a few game-changing tricks that’ll take them from good to absolutely irresistible.
Sharp knife skills are essential—clean your blade between cuts for pristine edges.
For plate presentation, dust with cocoa powder and add fresh berries for color contrast that makes each serving restaurant-worthy.
Using a high-quality knife set like the McCook or Ninja brands ensures precise slicing and maintains the integrity of your brownie layers.
Nutrition
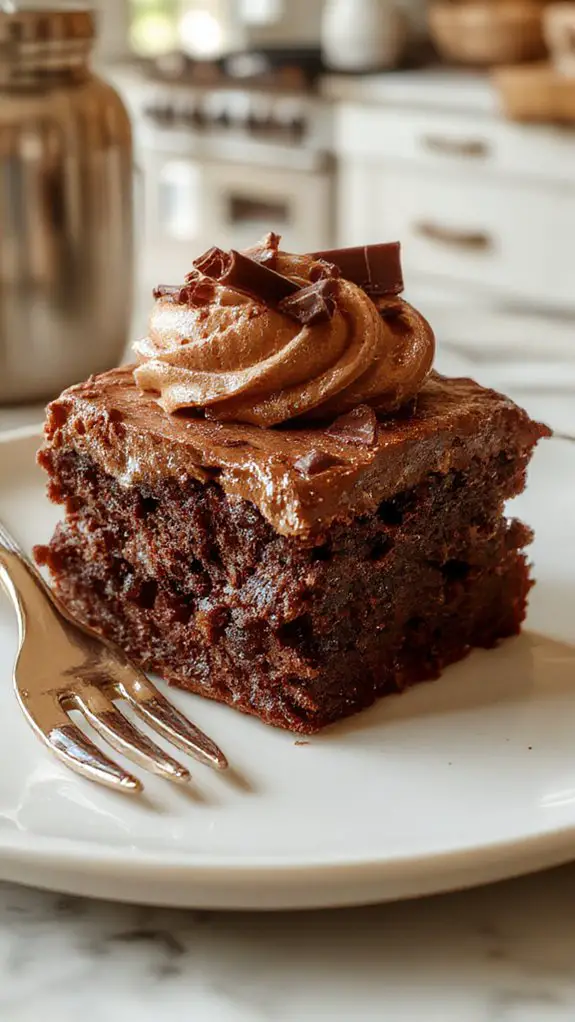
Understanding the nutritional content of chocolate mousse brownies helps you make informed decisions about portion sizes and how they fit into your daily dietary goals. These indulgent treats are calorie-dense due to their rich combination of chocolate, butter, eggs, and sugar.
| Nutrient | Per Serving (1 brownie, approximately 3×3 inch) |
|---|---|
| Calories | 285 |
| Total Fat | 16g |
| Saturated Fat | 9g |
| Trans Fat | 0g |
| Cholesterol | 75mg |
| Sodium | 125mg |
| Total Carbohydrates | 35g |
| Dietary Fiber | 3g |
| Total Sugars | 28g |
| Added Sugars | 26g |
| Protein | 5g |
| Vitamin A | 8% DV |
| Calcium | 4% DV |
| Iron | 8% DV |
What You’ll Love About This Recipe
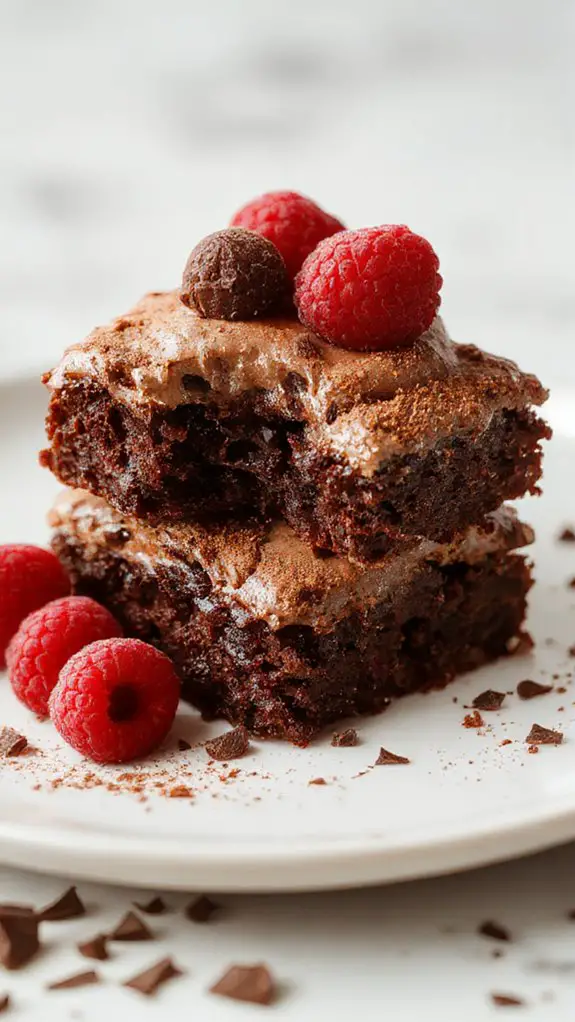
These decadent chocolate mousse brownies combine the best of both worlds, giving you that rich, fudgy brownie base topped with an incredibly light and airy chocolate mousse that melts in your mouth.
I promise you’ll find yourself sneaking back to the kitchen for just one more bite, and then maybe another, because they’re absolutely irresistible.
Perfect for special occasions – These elegant brownies look fancy enough for dinner parties, birthdays, or holidays, but they’re surprisingly simple to make at home with ingredients you probably already have in your pantry.
Make-ahead friendly – You can prepare these beauties up to two days in advance, which means less stress when you’re hosting guests.
The flavors actually get even better as they sit in the refrigerator overnight.
Crowd-pleasing combination – Even picky eaters who usually stick to plain chocolate desserts will be amazed by the smooth, creamy mousse layer that perfectly balances the dense brownie underneath.
This creates a texture experience that’s truly unforgettable.
Recipe Card
These decadent chocolate mousse brownies combine the rich, fudgy texture of classic brownies with an airy, silky chocolate mousse layer on top. The brownie base provides a dense chocolate foundation while the mousse adds an elegant, restaurant-quality finish that melts in your mouth.
Ingredients:
*For the Brownies:*
- 1/2 cup unsalted butter
- 4 oz dark chocolate, chopped
- 3/4 cup granulated sugar
- 2 large eggs
- 1 teaspoon vanilla extract
- 1/3 cup all-purpose flour
- 2 tablespoons unsweetened cocoa powder
- 1/4 teaspoon salt
For the Chocolate Mousse:
- 6 oz dark chocolate, chopped
- 3 tablespoons unsalted butter
- 3 large eggs, separated
- 1/4 cup granulated sugar
- 1 cup heavy whipping cream
- 1 teaspoon vanilla extract
Instructions:
1. Preheat oven to 350°F. Line an 8×8 inch baking pan with parchment paper.
2. Melt butter and 4 oz chocolate in a double boiler until smooth.
Remove from heat and whisk in sugar.
3. Beat in eggs one at a time, then vanilla extract.
4. Sift together flour, cocoa powder, and salt. Fold into chocolate mixture until just combined.
5. Pour batter into prepared pan and bake for 25-30 minutes until a toothpick inserted comes out with few moist crumbs.
6. Cool completely in pan.
7. For mousse: melt 6 oz chocolate and 3 tablespoons butter in double boiler until smooth. Cool slightly.
8. Beat egg yolks with half the sugar until pale. Gradually whisk in cooled chocolate mixture.
9. Whip cream to soft peaks. In separate bowl, beat egg whites with remaining sugar to stiff peaks.
10. Fold whipped cream into chocolate mixture, then gently fold in egg whites and vanilla.
11. Spread mousse over cooled brownies. Refrigerate for at least 2 hours before serving.
Notes:
Ensure brownies are completely cool before adding mousse layer to prevent melting. Use room temperature eggs for better incorporation. Mousse can be made up to 24 hours ahead.
Equipment:
Double boiler, 8×8 inch baking pan, electric mixer with at least 6 speed settings for optimal texture, mixing bowls
Time:
Prep time: 30 minutes
Cooking time: 25-30 minutes
Chilling time: 2 hours
Cuisine: American
Serving: 16 squares
Frequently Asked Questions
Can I Make These Brownies Ahead of Time for a Party?
Yes, I recommend advance baking for easy party prep. You can make them up to two days ahead, store covered in the refrigerator, and they’ll taste even better as flavors meld together.
How Long Do Chocolate Mousse Brownies Last in the Refrigerator?
They’ll stay fresh for 3-4 days when properly stored. My storage tips include covering them tightly with plastic wrap or keeping them in an airtight container to maintain peak freshness duration and prevent drying out.
Can I Freeze Chocolate Mousse Brownies for Later?
Yes, you can freeze them! I’ll share essential storage tips: wrap individual portions in plastic wrap, then foil. These freezing methods preserve texture for up to three months. Thaw overnight in your refrigerator before serving.
What’s the Best Way to Cut Clean Slices Without Mess?
I’ll chill brownies completely first, then use sharp knives dipped in warm water between cuts. The cold mousse layer firms up, while clean, warm blades slice through without dragging or creating messy edges.
Can I Use a Different Pan Size for This Recipe?
Yes, I can suggest pan alternatives and size adjustments. If you’re using a different sized pan, you’ll need to adjust baking time accordingly – smaller pans require longer baking, while larger pans need less time.

