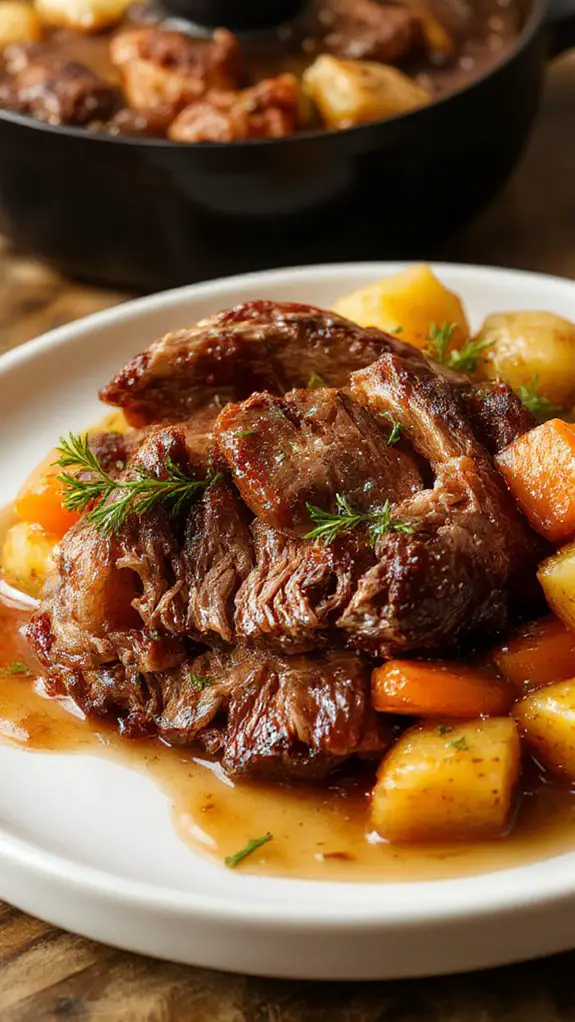
I’ve discovered something magical happens when you combine the sweetness of apple cider with the rich, savory depth of a perfectly braised pot roast. The cider doesn’t just add flavor—it transforms the entire dish, creating a glossy, complex sauce that’ll have you questioning everything you thought you knew about traditional braising liquids. There’s a technique I use that guarantees the meat falls apart at the touch of a fork.
Apple Cider Braised Pot Roast Recipe
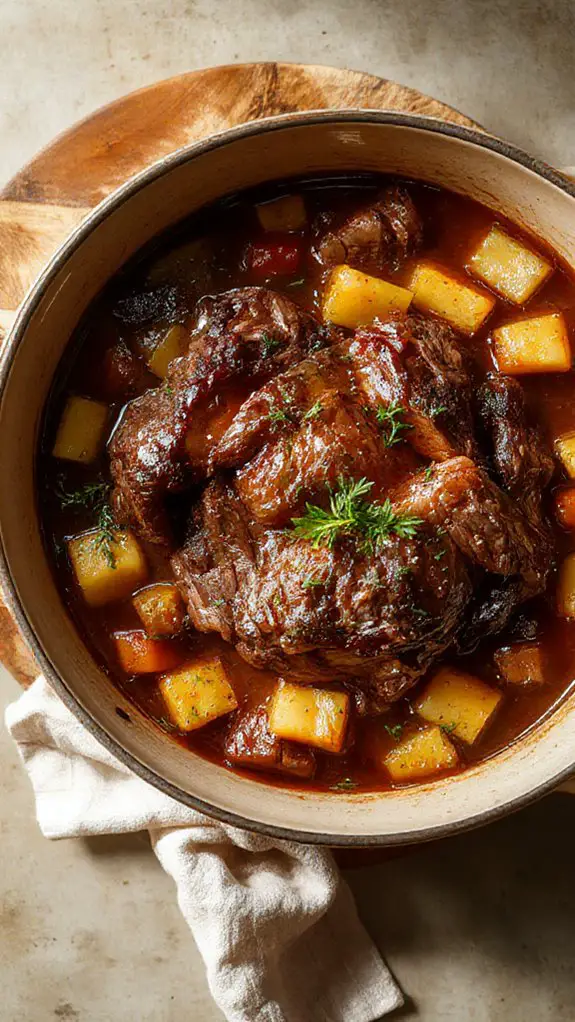
I can tell you with absolute certainty that this apple cider braised pot roast will become your new fall obsession—it’s hands-down the most flavorful, tender, and soul-warming version of pot roast I’ve ever made. What makes this recipe truly special is the apple cider reduction that happens during the long, slow braise, creating this incredible sweet-savory glaze that penetrates every fiber of the beef while keeping it ridiculously moist and fork-tender.
I stumbled upon this technique during a particularly crisp October when I’d way too much fresh apple cider from the orchard, and let me tell you, it was one of those happy accidents that changed everything. The apple cider doesn’t just add sweetness—it brings this subtle tartness that perfectly balances the rich, meaty flavors, while the natural sugars caramelize beautifully with the onions and herbs.
Picture pulling apart meat so tender it practically falls off your fork, bathed in a glossy, amber-colored sauce that tastes like autumn in a bowl, with hints of apple, thyme, and those deep, savory pan drippings that make you want to lick the plate clean. This isn’t your typical Sunday pot roast—it’s elevated comfort food that looks impressive but is honestly foolproof to make, and trust me, your kitchen will smell absolutely incredible while it’s cooking. For best results, use a programmable slow cooker with a locking lid to ensure mess-free transport and consistent heat distribution.
Ingredients
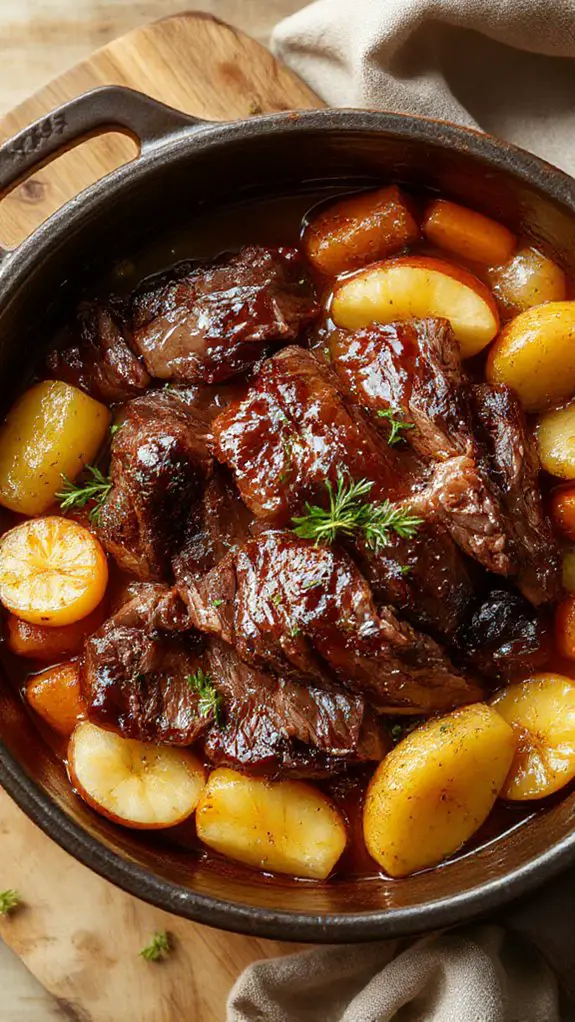
The magic of this pot roast lies in choosing ingredients that transform a humble cut of meat into pure comfort. Apple cider is your secret weapon here—it tenderizes the beef while adding that perfect sweet-tart depth you can’t get from wine or broth alone.
Don’t even think about using apple juice; the unfiltered, cloudy cider with all its natural sediment is what creates that rich, complex flavor base that makes this dish unforgettable.
For the Roast:
- 3-4 lb chuck roast – This marbled cut is non-negotiable; it becomes fork-tender and absorbs every drop of flavor
- 2 cups fresh apple cider – The unfiltered kind with sediment; pasteurized is fine but avoid anything crystal clear
- 2 large yellow onions, sliced – Yellow onions caramelize beautifully and won’t turn mushy like white ones
- 4 large carrots, cut into 2-inch pieces – Carrots add natural sweetness that complements the cider perfectly
- 1 lb baby potatoes, halved – Yukon Gold work best, but red potatoes hold their shape beautifully too
- 4 garlic cloves, smashed – Fresh only; those pre-minced jars will turn bitter during the long braise
- 3 fresh thyme sprigs – Fresh thyme is worth the splurge; dried just doesn’t have the same aromatic punch
- 2 bay leaves – These add that subtle earthy backbone you’ll miss if you skip them
- 2 tbsp tomato paste – This deepens the color and adds umami; don’t substitute with sauce
- 2 tbsp olive oil – For searing; vegetable oil works if that’s what you have
- Salt and freshly cracked black pepper – Kosher salt and freshly ground pepper make a noticeable difference
Flavor Boosters:
- 2 tbsp apple cider vinegar – Brightens everything at the end; white wine vinegar works in a pinch
- 1 tbsp Dijon mustard – Adds subtle tang and helps thicken the sauce naturally
- 2 tbsp butter – For finishing the sauce; creates that glossy, restaurant-quality finish
How to Make the Best Apple Cider Braised Pot Roast
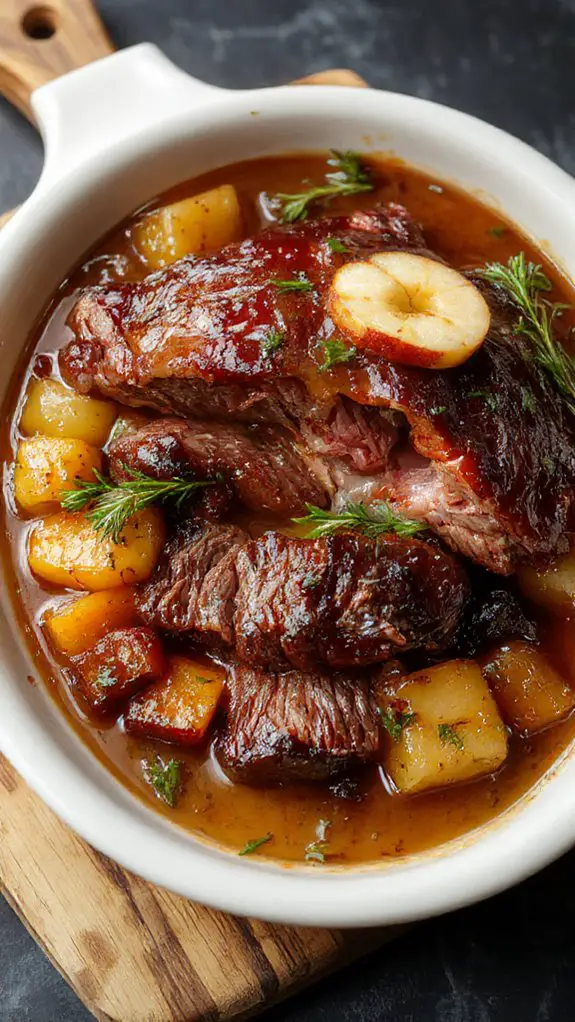
- Season the roast generously with salt and pepper on all sides.
Pat the beef chuck roast completely dry with paper towels before seasoning—this removes excess moisture that would prevent proper browning. Season at least 30 minutes before cooking if possible, allowing the salt to penetrate the meat for deeper flavor. Don’t skimp on the seasoning; a 3-4 pound roast needs about 2 teaspoons of salt total.
- Heat oil in a heavy Dutch oven or large pot over medium-high heat until shimmering.
Choose a pot that’s just large enough to hold the roast with some room around the edges—too big and the liquid will evaporate too quickly, too small and the roast won’t brown evenly. The oil should move freely and shimmer when ready; if it smokes, reduce the heat slightly to prevent burning. For best results, use a cast iron Dutch oven, which offers superior durability and heat retention.
- Sear the roast on all sides until deep golden brown, about 4-5 minutes per side.
This step is essential for developing rich flavor through the Maillard reaction. Don’t move the roast too soon—let each side develop a deep caramelized crust before turning. If the roast sticks slightly, it’s not ready to flip yet. The fond (browned bits) left in the pot will add incredible depth to your braising liquid.
- Remove the roast and set aside, then sauté onions in the same pot until softened.
Use the flavorful fat left from searing to cook the onions—this builds layers of taste. Scrape up any browned bits from the bottom as the onions release moisture. Cook for about 5-7 minutes until the onions are translucent and slightly golden, which concentrates their sweetness to complement the apple cider.
- Add garlic, thyme, and bay leaves, cooking for another minute until fragrant.
Fresh herbs work best here, but dried herbs are fine—just use half the amount. The garlic should smell aromatic but not brown, which would make it bitter. This brief cooking time releases the essential oils without burning the delicate aromatics.
- Pour in apple cider and beef broth, scraping up any browned bits from the bottom.
Use a wooden spoon to deglaze thoroughly—those caramelized bits are pure flavor gold. Choose a good-quality apple cider for the best taste; avoid apple juice which lacks the complex, slightly tart flavor needed. The liquid should come about halfway up the sides of the roast when you return it to the pot.
- Return the roast to the pot, cover tightly, and transfer to a 325°F preheated oven.
Low, slow cooking breaks down the tough connective tissues in chuck roast into silky gelatin. Make sure your lid fits tightly to prevent moisture loss—if it’s loose, cover with foil first, then the lid. The gentle oven heat provides more even cooking than stovetop simmering.
- Braise for 2.5-3 hours, turning the roast once halfway through cooking.
The roast is done when it shreds easily with a fork and reaches an internal temperature of 190-200°F. Don’t worry about this seeming overcooked—chuck roast needs this high temperature to become tender. If the liquid level drops too much during cooking, add more warm broth to maintain moisture.
- Add carrots and potatoes during the last hour of cooking time.
Cut vegetables into large, uniform pieces so they don’t fall apart during braising. Adding them too early will result in mushy vegetables, while adding them too late leaves them undercooked. They should be fork-tender but still hold their shape when the roast is finished.
Let the roast rest for 10 minutes before slicing, then strain and reduce the braising liquid for gravy.
Resting allows the juices to redistribute throughout the meat, preventing them from running out when sliced. Strain the cooking liquid through a fine-mesh sieve and simmer on the stovetop to concentrate the flavors into a rich, glossy sauce that perfectly complements the apple cider-infused beef.
Chef Tips
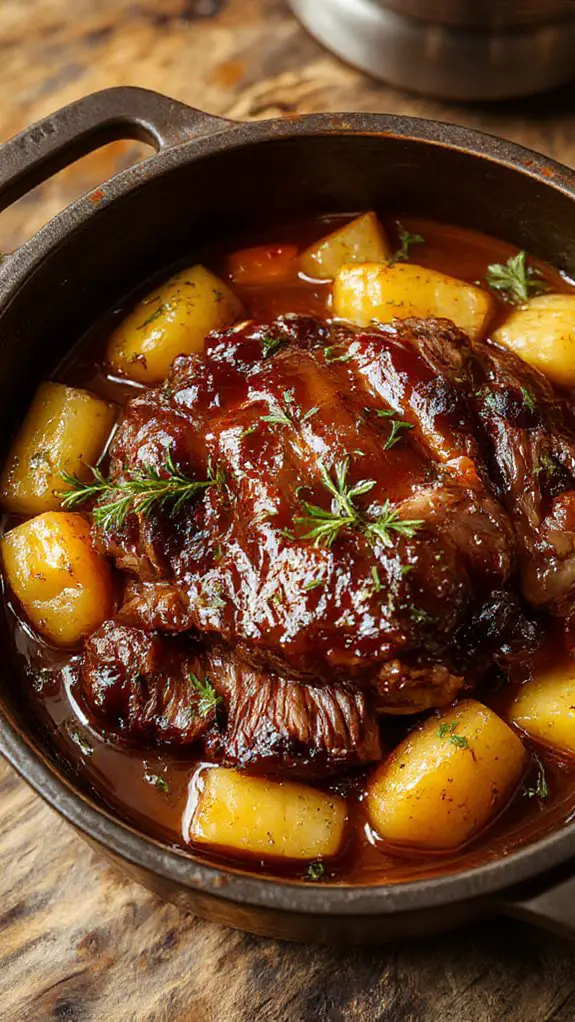
Cutting against the grain makes all the difference when serving your finished pot roast. I’ll slice perpendicular to the muscle fibers using proper knife skills for maximum tenderness. For precise slicing, ensure your high carbon steel knife is razor-sharp. For elegant plating techniques, I arrange overlapping slices fanned across the plate, then spoon the rich braising liquid around the meat. Fresh herbs add color and complete the presentation beautifully.
Nutrition
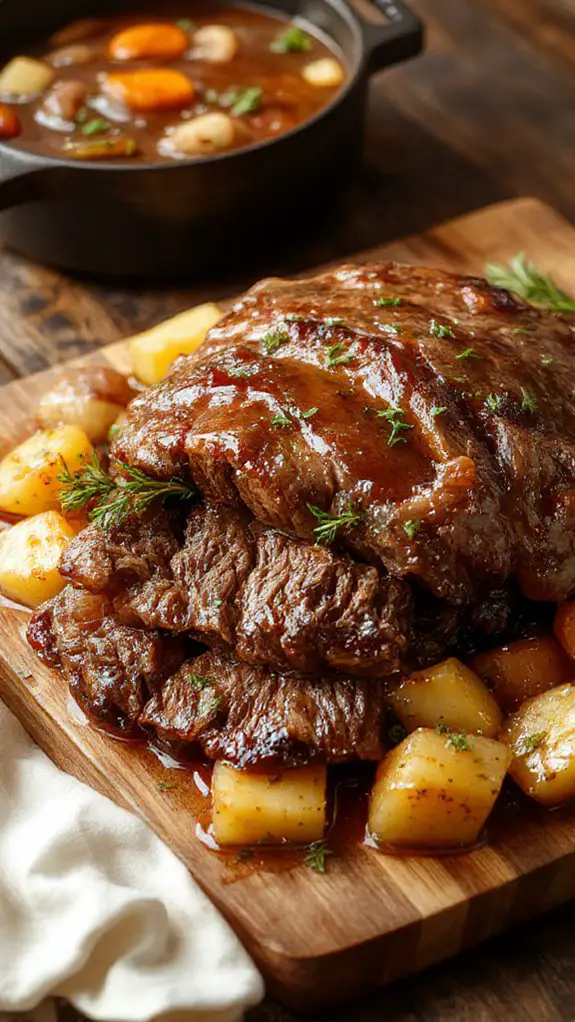
Apple cider braised pot roast provides a hearty, nutrient-dense meal that combines lean protein with essential vitamins and minerals. This slow-cooked dish offers substantial nutritional value while delivering rich, comforting flavors. For best results, use a programmable slow cooker with precise temperature control to ensure even cooking and tender meat.
| Nutrient | Amount per Serving (6 oz) | % Daily Value |
|---|---|---|
| Calories | 385 | – |
| Total Fat | 18g | 23% |
| Saturated Fat | 7g | 35% |
| Cholesterol | 95mg | 32% |
| Sodium | 485mg | 21% |
| Total Carbohydrates | 12g | 4% |
| Dietary Fiber | 2g | 7% |
| Total Sugars | 8g | – |
| Protein | 42g | 84% |
| Iron | 4.2mg | 23% |
| Zinc | 8.5mg | 77% |
| Vitamin B12 | 2.8mcg | 117% |
| Niacin | 7.2mg | 45% |
| Selenium | 28mcg | 51% |
| Potassium | 485mg | 10% |
What You’ll Love About This Apple Cider Braised Pot Roast
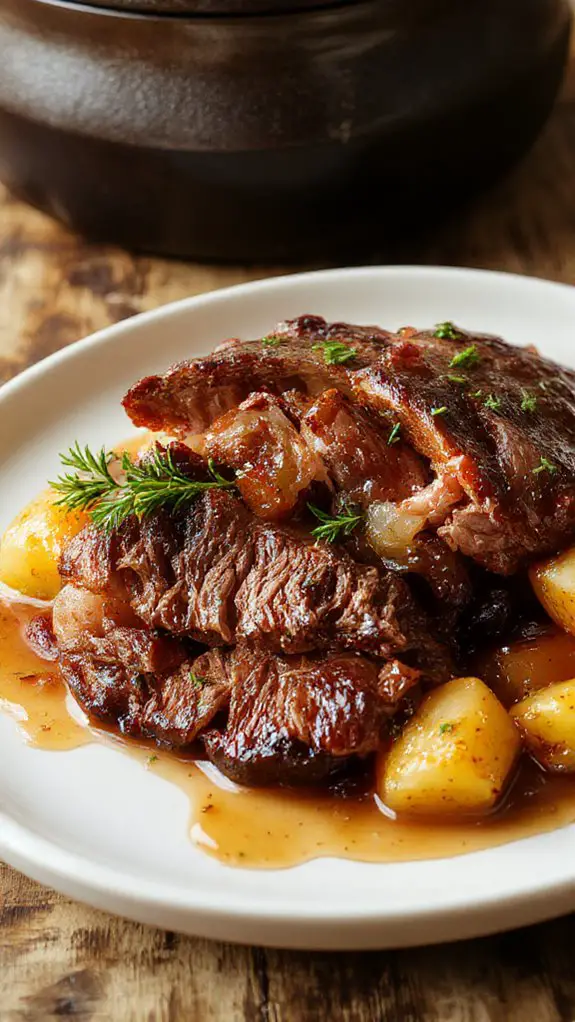
Apple cider braised pot roast transforms an ordinary weeknight dinner into something truly special, filling your kitchen with the most incredible autumn aromas.
This recipe takes the classic comfort food you already love and gives it a sweet, tangy twist that will have your family asking for seconds.
- The apple cider creates the most tender, fall-apart meat you’ve ever tasted: The natural sugars and acids in the cider work like magic to break down tough fibers, while infusing every bite with a subtle sweetness that perfectly balances the savory herbs and vegetables.
- It’s a complete one-pot meal that practically cooks itself: Once you get everything into the pot, you can walk away for hours while the oven does all the work, making it perfect for busy weekends or when you want to impress guests without spending all day in the kitchen.
- The leftover possibilities are endless and just as delicious as the original meal: Shred the tender beef for amazing sandwiches, toss it with pasta and some of that rich braising liquid, or serve it over mashed potatoes for the ultimate comfort food experience that tastes even better the next day
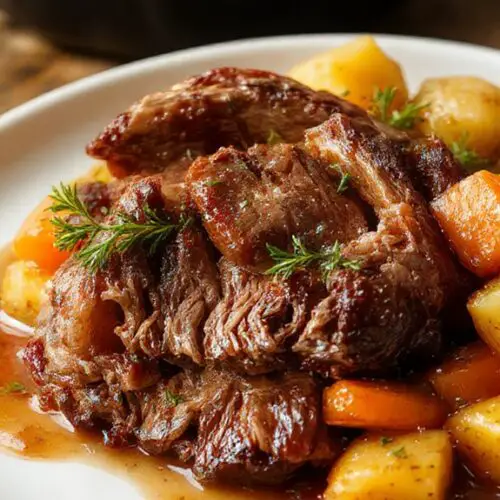
Apple Cider Braised Pot Roast
Equipment
- Dutch oven or heavy-bottomed oven-safe pot with tight-fitting lid
Ingredients
- 3-4 lb beef chuck roast
- 2 tablespoons olive oil
- 1 large onion sliced
- 3 carrots cut into 2-inch pieces
- 3 celery stalks cut into 2-inch pieces
- 4 cloves garlic minced
- 2 cups apple cider
- 1 cup beef broth
- 2 tablespoons apple cider vinegar
- 2 bay leaves
- 3 fresh thyme sprigs
- 2 fresh rosemary sprigs
- Salt and black pepper to taste
- 2 tablespoons cornstarch optional, for thickening
Instructions
- Preheat oven to 325°F. Season the chuck roast generously with salt and pepper on all sides.
- Heat olive oil in a large Dutch oven over medium-high heat. Sear the roast for 3-4 minutes per side until well browned. Remove and set aside.
- Add onions to the same pot and cook for 3-4 minutes until softened. Add garlic and cook for another minute.
- Pour in apple cider, beef broth, and apple cider vinegar, scraping up any browned bits from the bottom.
- Return the roast to the pot and add bay leaves, thyme, and rosemary. Add carrots and celery around the roast.
- Bring to a simmer, cover with lid, and transfer to preheated oven.
- Braise for 2.5-3 hours until meat is fork-tender and easily shreds.
- Remove herbs and bay leaves. If desired, thicken the braising liquid by mixing cornstarch with 2 tablespoons cold water and stirring into the pot.
Notes
- Choose a well-marbled chuck roast for best results. The fat content guarantees the meat stays moist during the long cooking process.
- For deeper flavor, sear the roast the night before and refrigerate, then proceed with braising the next day. Leftover braising liquid makes an excellent gravy when strained and reduced.
Frequently Asked Questions
Can I Make This Recipe in a Slow Cooker Instead?
Yes, I’ll share slow cooker tips for this cooking methods variation. Sear the roast first, then transfer everything to your slow cooker. Cook on low for 6-8 hours until tender.
How Long Can Leftovers Be Stored in the Refrigerator?
I’d recommend storing leftovers for 3-4 days maximum in the refrigerator. For food safety, keep them in airtight containers and reheat thoroughly. My storage tips include labeling with dates and cooling completely before refrigerating.
What Side Dishes Pair Best With Apple Cider Braised Pot Roast?
I’d recommend creamy mashed potatoes or roasted root vegetable sides like carrots and parsnips. Other great potato options include garlic herb roasted potatoes or buttery egg noodles to soak up the flavorful braising liquid.
Can I Freeze the Cooked Pot Roast for Later Use?
Yes, you can freeze the cooked pot roast for up to three months. My freezing tips include cooling completely first, and my storage advice is using airtight containers or freezer bags.
What’s the Best Way to Reheat Leftover Pot Roast?
I recommend using oven methods for best results – reheat at 325°F covered with foil. For microwave tips, use 50% power and cover with damp paper towel to prevent drying out.

