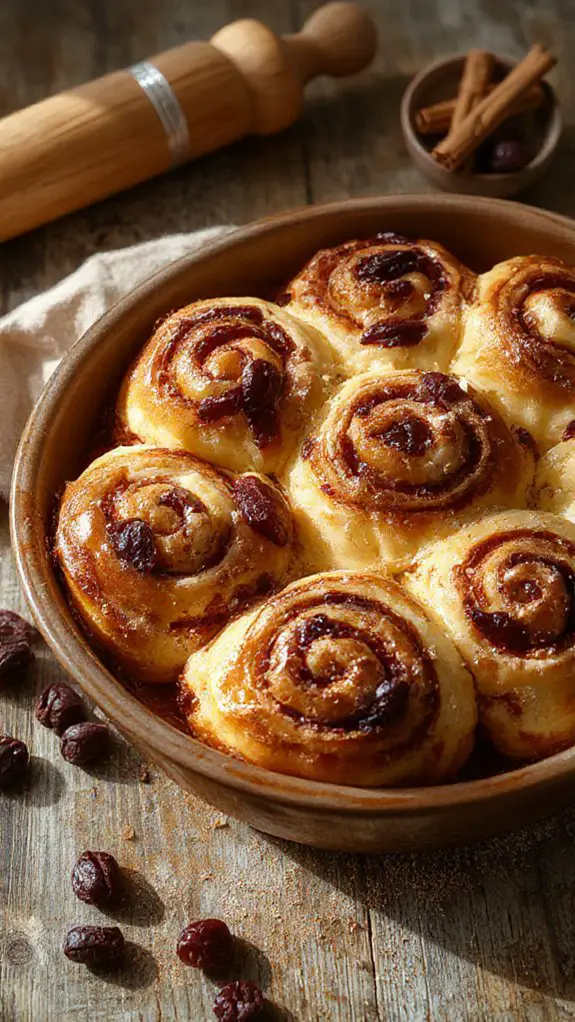
I’ve been perfecting my cherry cinnamon roll recipe for years, and I can tell you there’s something magical about that first bite when the tart cherries meet the warm cinnamon swirl. The secret isn’t just in the ingredients—it’s in understanding how each component works together to create layers of flavor that’ll transform your ordinary morning routine into something extraordinary.
Recipe
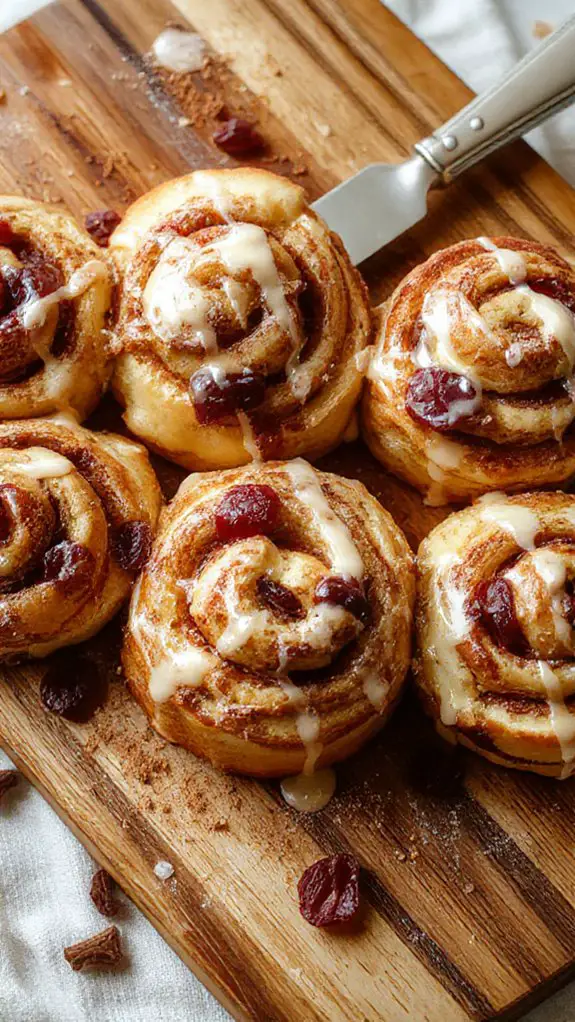
I can tell you with absolute confidence that these cherry cinnamon rolls will become your new weekend obsession—they’re everything you want in a homemade treat and then some. What makes these special isn’t just the gorgeous swirl of cinnamon sugar, but the burst of tart-sweet cherries nestled throughout each roll that transforms an already incredible breakfast into something truly extraordinary.
I’ve been perfecting this recipe for years, and my secret is using both fresh cherries and a touch of cherry juice in the dough itself, which gives you layers of flavor that store-bought rolls could never dream of achieving.
Imagine this: pillowy soft dough that practically melts in your mouth, ribbons of buttery cinnamon filling, and juicy cherries that pop with every bite, all topped with a vanilla glaze that seeps into every crevice. The aroma alone will have your entire house smelling like a cozy bakery on a Sunday morning, and trust me, once you pull these golden beauties from the oven, you’ll understand why I make a double batch every single time.
Yes, they take a little patience with the rising time, but the hands-on work is surprisingly simple, and watching everyone’s faces light up when they take that first warm, gooey bite makes every minute worth it.
Ingredients
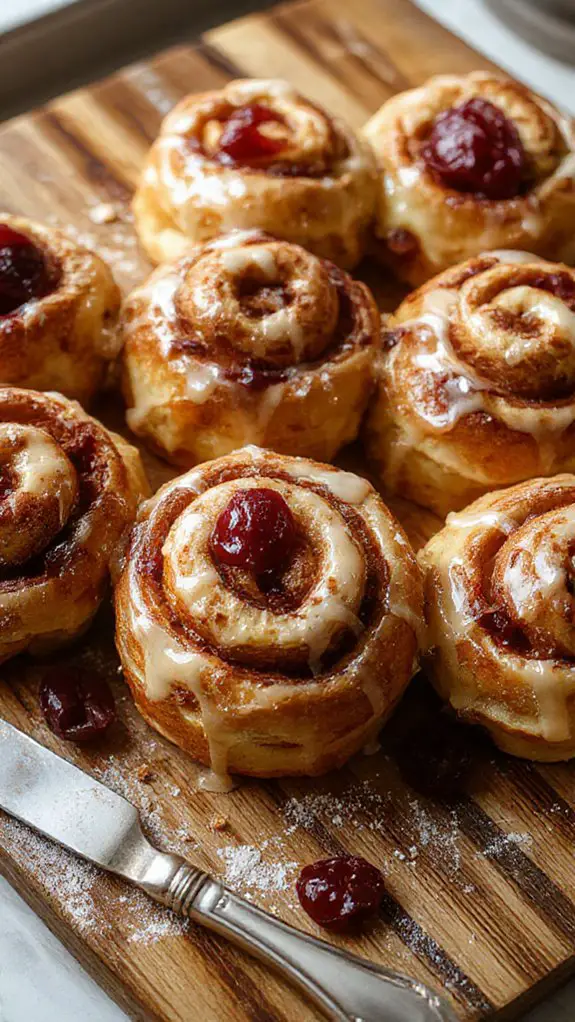
These cherry cinnamon rolls are all about building layers of flavor that work together like a symphony. The key is using ingredients that complement each other while giving you the tender, pillowy texture that makes homemade rolls so irresistible. A few smart choices here will take your rolls from good to absolutely incredible.
For the Dough:
- Bread flour – This is non-negotiable for the perfect chewy-yet-tender texture. All-purpose works in a pinch, but bread flour’s higher protein content creates those gorgeous, stretchy layers
- Instant yeast – Faster and more reliable than active dry yeast. No proofing required, just mix it right in
- Whole milk – The fat content keeps everything soft and rich. Don’t go low-fat here – you’ll taste the difference
- Unsalted butter – Room temperature is essential for easy mixing. European-style butter adds extra richness if you’re feeling fancy
- Large eggs – Room temperature eggs incorporate better and create a more tender crumb
- Granulated sugar – Just enough to feed the yeast and add subtle sweetness
- Fine sea salt – Enhances every other flavor in the dough
For the Cherry Cinnamon Filling:
- Fresh or frozen cherries – Tart cherries are the gold standard here, but sweet cherries work too. Frozen cherries actually release more juice, which creates beautiful swirls
- Ground cinnamon – Ceylon cinnamon is worth seeking out for its delicate, sweet flavor, but regular cassia cinnamon works perfectly
- Brown sugar – Light or dark both work, but dark brown sugar adds deeper molasses notes that pair beautifully with cherries
- Softened butter – This creates the spreadable base that holds everything together
For the Glaze:
- Powdered sugar – Sift it for the smoothest glaze texture
- Heavy cream or milk – Heavy cream creates a richer glaze, but milk keeps it lighter
- Vanilla extract – Pure vanilla only – the artificial stuff tastes harsh against the delicate cherry flavor
- Pinch of salt – This little secret brightens the entire glaze and makes the sweetness pop
How to Make the Best Cherry Cinnamon Rolls Origin
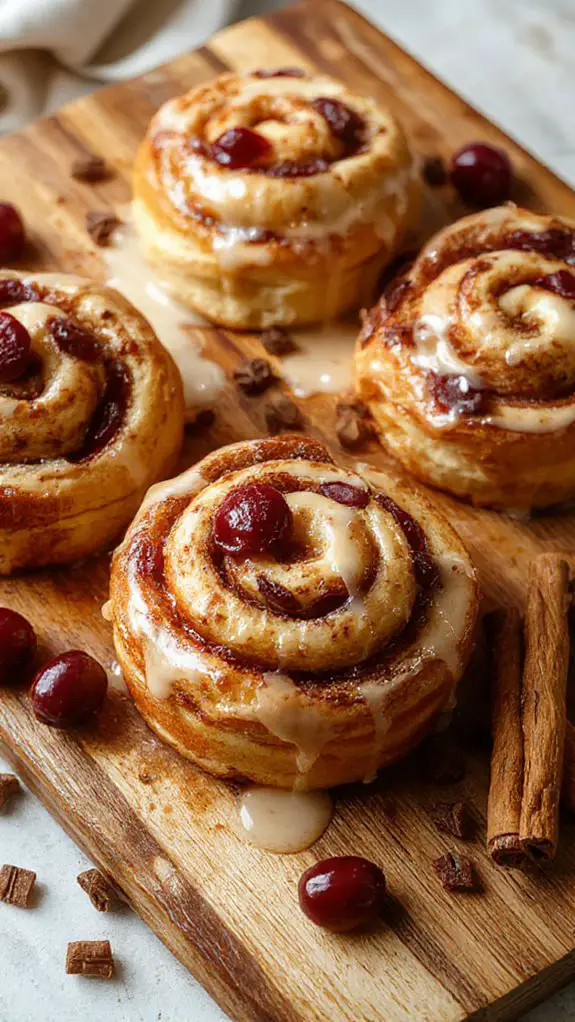
Prepare your dough by dissolving active dry yeast in warm milk (around 110°F).
The milk should feel just slightly warm to the touch—too hot will kill the yeast, too cool won’t activate it. Let this mixture sit for 5-10 minutes until it becomes foamy and bubbly, which confirms your yeast is alive and ready to work its magic. If it doesn’t foam, start over with fresh yeast.
Mix together flour, sugar, and salt in a large bowl, then create a well in the center.
This technique guarantees even distribution of dry ingredients before adding wet ones. The well prevents the liquid from spreading everywhere at once, giving you better control over the mixing process and helping avoid lumps.
Combine the yeast mixture with melted butter, eggs, and vanilla, then pour into the flour well.
Make sure your melted butter has cooled slightly—you don’t want it hot enough to scramble the eggs or kill the yeast. Room temperature eggs mix more easily, so take them out of the fridge 30 minutes before baking if you remember.
Stir until a shaggy dough forms, then turn onto a floured surface for kneading.
The dough will look rough and slightly messy at this stage—that’s perfectly normal. Don’t add too much extra flour yet; the dough will become smoother and less sticky as you knead. Resist the urge to make it perfect right away.
Knead the dough for 8-10 minutes until smooth, elastic, and slightly tacky.
Proper kneading develops the gluten structure that gives your rolls their tender, pull-apart texture. The dough is ready when you can stretch a small piece thin enough to see light through it without tearing. It should spring back when poked gently.
Place dough in a greased bowl, cover with damp towel, and let rise for 1-2 hours until doubled.
Choose a warm, draft-free spot like the top of your refrigerator or inside an oven with just the light on. The dough is ready when you can poke it with two fingers and the indentation remains—this means the gluten has relaxed and it’s ready to shape.
Roll the risen dough into a 12×18 inch rectangle on a lightly floured surface.
Keep the rectangle as even as possible for uniform rolls. If the dough springs back while rolling, let it rest for 10 minutes to relax the gluten, then continue. Don’t worry about perfect edges—you’ll trim them later.
Brush the entire surface with softened butter, leaving a 1-inch border along one long edge.
The butter acts as “glue” for your filling and creates those irresistible layers. Make sure your butter is truly softened (not melted) so it spreads easily without tearing the dough. That clean border helps the seam seal properly when you roll.
Sprinkle cinnamon-sugar mixture evenly over the buttered surface, then distribute fresh or dried cherries.
Mix your cinnamon and sugar ahead of time for even coverage. If using fresh cherries, pat them dry and toss lightly in flour to prevent them from creating soggy spots. Dried cherries can be plumped in warm water for 10 minutes if they seem too hard.
Starting from the filled long edge, roll tightly but gently toward the clean border.
Keep the roll snug but don’t stretch the dough—you want to maintain those beautiful layers without tearing. Use your fingertips to guide the roll rather than your palms, which can create flat spots.
Pinch the seam closed and position it seam-side down before slicing.
This prevents the rolls from unraveling during their final rise and baking. Use a sharp knife or unflavored dental floss to cut clean slices—sawing with a dull knife will compress and misshape your beautiful spirals.
Place cut rolls in a greased 9×13 pan with sides barely touching, then cover for second rise.
They should just kiss each other—this allows for expansion while guaranteeing they bake together into pull-apart perfection. The second rise takes 45-60 minutes and is done when the rolls look puffy and have grown noticeably.
Bake at 350°F for 25-30 minutes until golden brown and cooked through.
The tops should be a beautiful golden color, and the internal temperature should reach 190°F if you want to be precise. If they’re browning too quickly, tent loosely with foil for the last 10 minutes of baking.
Chef Tips
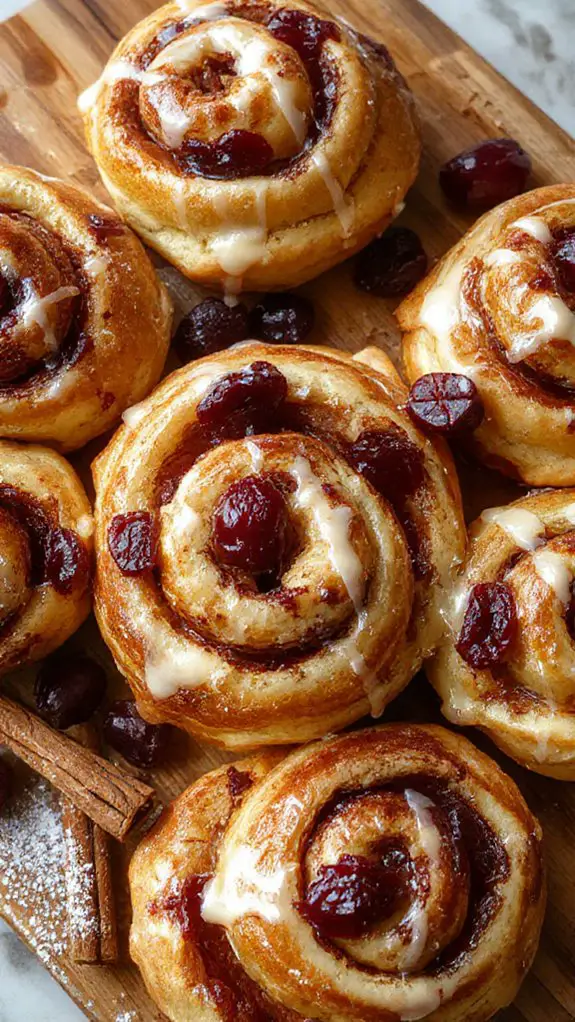
While mastering cherry cinnamon rolls takes practice, a few professional techniques can transform your homemade batch from good to bakery-quality. Use a heavy-gauge carbon steel baking sheet to ensure even heat distribution and prevent warping, which is crucial for consistent baking results. I recommend using room temperature ingredients for smoother dough consistency. These baking techniques guarantee even rising and texture. Experiment with flavor combinations like adding orange zest to the filling or vanilla extract to your glaze for enhanced taste complexity.
Nutrition
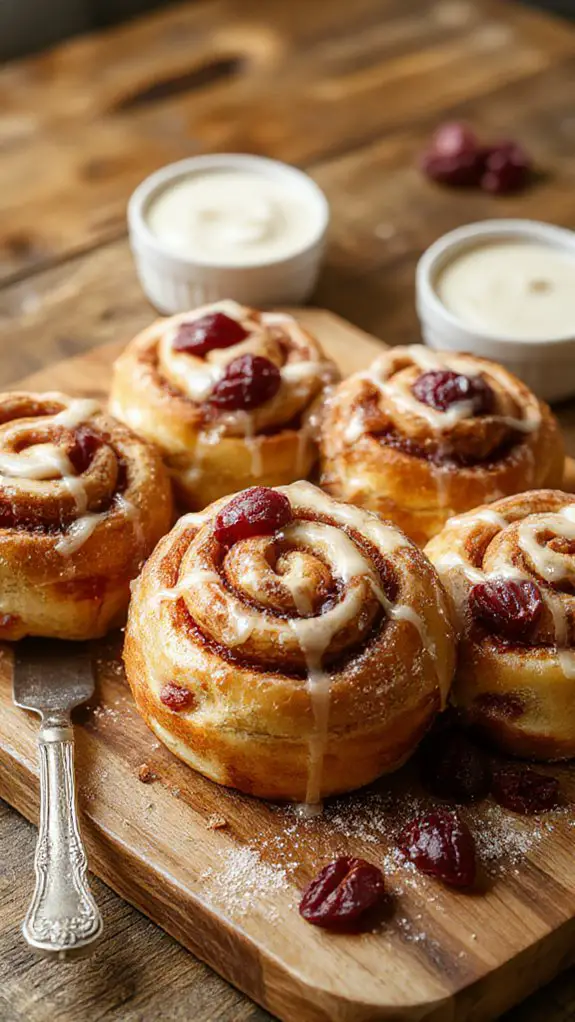
This nutritional breakdown is based on one cherry cinnamon roll from a recipe that yields 12 servings. The values may vary depending on specific ingredients and portion sizes used.
| Nutrient | Amount per Serving |
|---|---|
| Calories | 285 |
| Total Fat | 8.2g |
| Saturated Fat | 4.8g |
| Cholesterol | 45mg |
| Sodium | 195mg |
| Total Carbohydrates | 48g |
| Dietary Fiber | 1.8g |
| Sugars | 22g |
| Protein | 5.5g |
| Vitamin A | 6% DV |
| Vitamin C | 3% DV |
| Calcium | 8% DV |
| Iron | 12% DV |
What You’ll Love About This Recipe
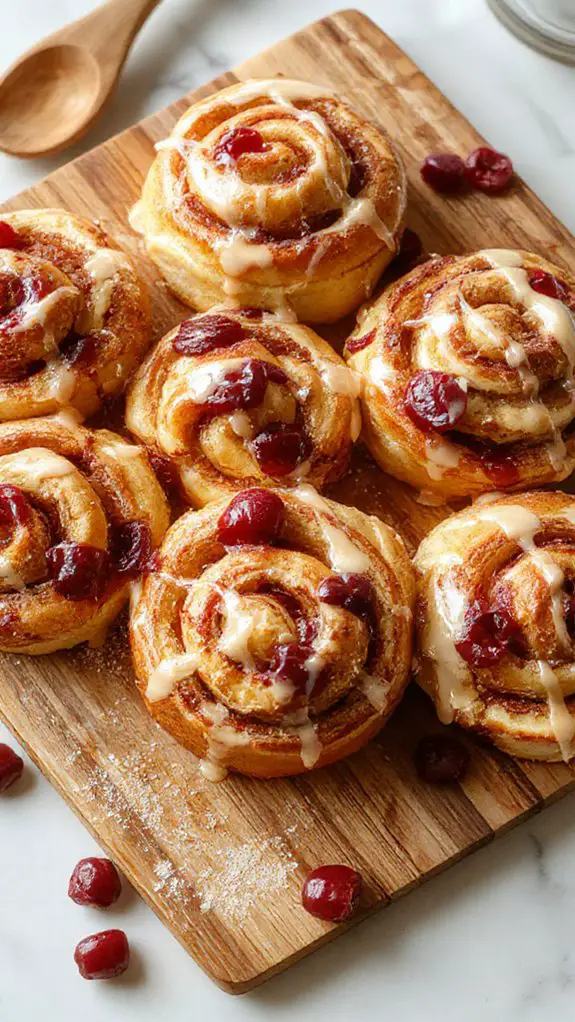
These cherry cinnamon rolls bring together the perfect combination of sweet, tart cherries and warm cinnamon spice in every single bite. You’ll find yourself reaching for seconds before you’ve even finished your first roll, and trust me, that’s completely normal when something tastes this incredible.
Easy enough for weekend baking adventures** – The dough comes together without any fancy techniques, and even if you’re new to working with yeast, you’ll feel confident following these simple steps that lead to bakery-quality results**. Using a 660W motor stand mixer ensures your dough is kneaded to perfection, saving you time and effort.
Bursting with juicy cherry flavor**** – Fresh or frozen cherries work beautifully in this recipe, creating little pockets of fruity sweetness that complement the cinnamon swirl and make each bite feel like a special treat.
Perfect for sharing or freezing – This recipe makes enough rolls to feed a crowd, or you can freeze half the batch for those mornings when you want fresh-baked rolls without all the work.
Recipe Card
These delightful cherry cinnamon rolls combine the warm spice of cinnamon with sweet, juicy cherries for an irresistible breakfast treat. The soft, pillowy dough is rolled with a fragrant cinnamon-sugar filling and dotted with fresh or dried cherries, then baked until golden brown. A simple glaze drizzled on top adds the perfect finishing touch to these bakery-style rolls that are perfect for special occasions or weekend mornings.
Ingredients:
For the Dough:
- 3½ cups all-purpose flour
- ¼ cup granulated sugar
- 1 packet (2¼ tsp) active dry yeast
- 1 teaspoon salt
- ⅓ cup milk
- ¼ cup water
- ¼ cup butter
- 1 large egg
For the Filling:
- ⅓ cup butter, softened
- ⅔ cup brown sugar, packed
- 2 tablespoons ground cinnamon
- 1 cup fresh cherries, pitted and chopped (or ¾ cup dried cherries)
For the Glaze:
- 1½ cups powdered sugar
- 3-4 tablespoons milk
- 1 teaspoon vanilla extract
Instructions:
- In a large bowl, combine 2 cups flour, sugar, yeast, and salt. Heat milk, water, and butter to 120-130°F. Add to flour mixture along with egg. Beat with electric mixer for 2 minutes.
- Stir in enough remaining flour to form a soft dough. Knead on floured surface for 6-8 minutes until smooth and elastic.
- Place dough in greased bowl, cover, and let rise in warm place for 1 hour or until doubled.
- Punch down dough and roll into 15×10-inch rectangle on floured surface.
- Spread softened butter over dough. Mix brown sugar and cinnamon; sprinkle over butter. Top with cherries.
- Roll up tightly, starting from long side. Cut into 12 slices and place in greased 13×9-inch pan.
- Cover and let rise 30 minutes. Preheat oven to 375°F.
- Bake 20-25 minutes until golden brown.
- For glaze, whisk together powdered sugar, milk, and vanilla until smooth. Drizzle over warm rolls.
Notes:
If using dried cherries, soak them in warm water for 10 minutes before using to plump them up. Fresh cherries should be patted dry after chopping to prevent excess moisture.
Rolls can be assembled the night before and refrigerated, then brought to room temperature before baking.
Equipment:
Large mixing bowl, electric mixer, measuring cups and spoons, rolling pin, 13×9-inch baking pan, kitchen towel
Time:
Prep time: 30 minutes
Cooking time: 25 minutes
Rising time: 1 hour 30 minutes
Cuisine:
American
Serving:
12 rolls
Frequently Asked Questions
Can I Make Cherry Cinnamon Rolls Ahead of Time and Freeze Them?
Yes, you can freeze them! I’ll share freezing tips: wrap unbaked rolls tightly in plastic wrap, then foil. For storage methods, freeze up to three months. Thaw overnight in refrigerator before baking.
What’s the Best Way to Reheat Leftover Cherry Cinnamon Rolls?
I’ll share my favorite reheating methods for leftover rolls. Microwave techniques work best: wrap in damp paper towel for 15-20 seconds. For crispier results, I use a 300°F oven for 5-8 minutes.
Can I Substitute Fresh Cherries for Dried or Canned Cherries?
Yes, you can substitute fresh cherries! I’d recommend tart cherry varieties like Montmorency for best flavor balance. Pit and chop them first, then pat dry. For storage tips, keep fresh cherries refrigerated until you’re ready to bake.
How Long Do Cherry Cinnamon Rolls Stay Fresh at Room Temperature?
They’ll stay fresh for 2-3 days at room temperature when properly covered. My storage tips include wrapping them tightly in plastic wrap or storing in an airtight container. Following these freshness guidelines prevents them from drying out.
Can I Make These Without a Stand Mixer or Bread Machine?
Yes, you can absolutely make them using alternative methods! I recommend hand mixing the dough in a large bowl, then kneading by hand for about 8-10 minutes until smooth and elastic.

