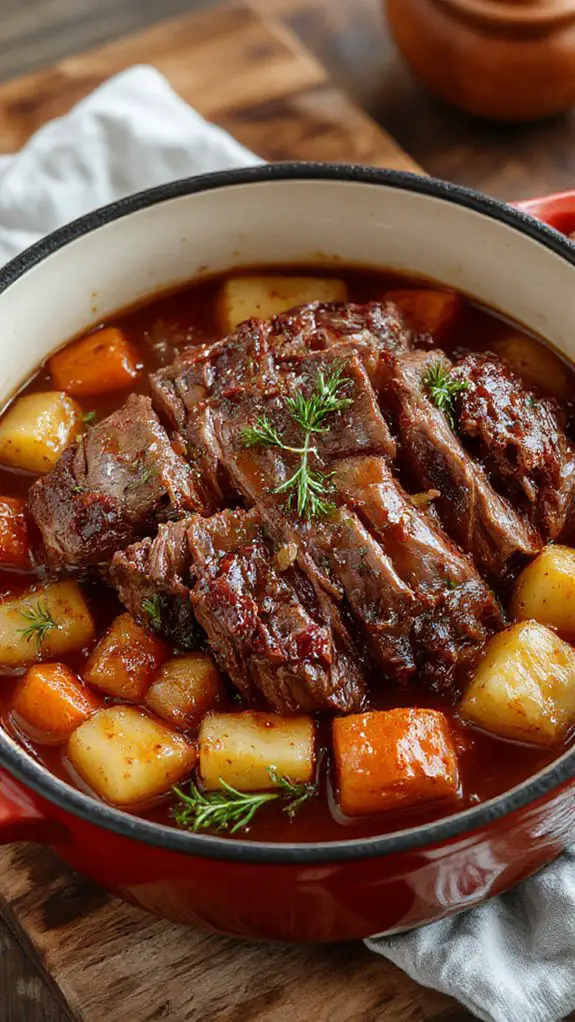
I’ve discovered that the secret to an unforgettable pot roast isn’t just the cut of meat you choose—it’s what you braise it in. This apple cider version transforms an ordinary Sunday dinner into something extraordinary, where the natural sweetness of the cider balances perfectly with savory herbs and tender vegetables. The aroma alone will have your family gathering in the kitchen, but there’s a specific technique that makes all the difference.
Recipe
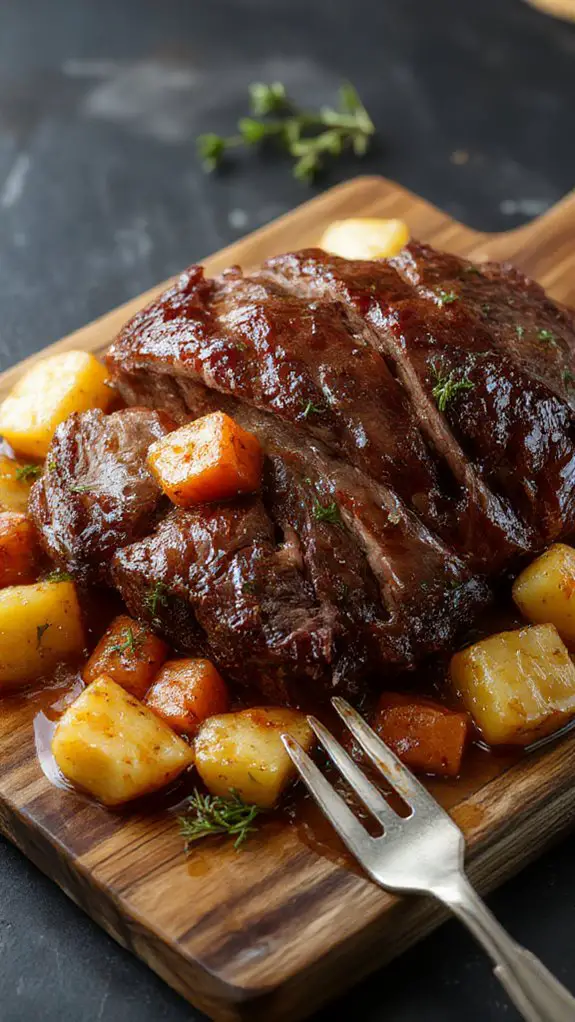
I can tell you with absolute confidence that this apple cider braised pot roast will become your new cold-weather obsession – it’s the kind of recipe that fills your entire house with the most incredible aroma and has everyone asking for seconds before they’ve even finished their first bite.
What makes this pot roast absolutely magical is braising it slowly in real apple cider instead of just broth, which creates this gorgeous sweet-savory depth that transforms an ordinary Sunday dinner into something truly special.
I’ve been perfecting this recipe for years, and I’m convinced that apple cider is the secret ingredient most people never think to use with beef – but trust me, the way it caramelizes and mingles with the meat drippings creates a rich, glossy sauce that’s pure comfort in a bowl.
Every forkful gives you melt-in-your-mouth beef that practically falls apart, paired with tender vegetables that have soaked up all those incredible apple-kissed flavors, and the whole thing just tastes like autumn wrapped in a warm hug.
The best part is how hands-off this recipe really is – once everything’s in the pot, you can let it work its magic while you go about your day, and you’ll end up with a dinner that looks and tastes like you spent all day fussing over it. Using a stainless steel stock pot with an aluminum-encapsulated base ensures even heat distribution and perfect results every time.
Ingredients
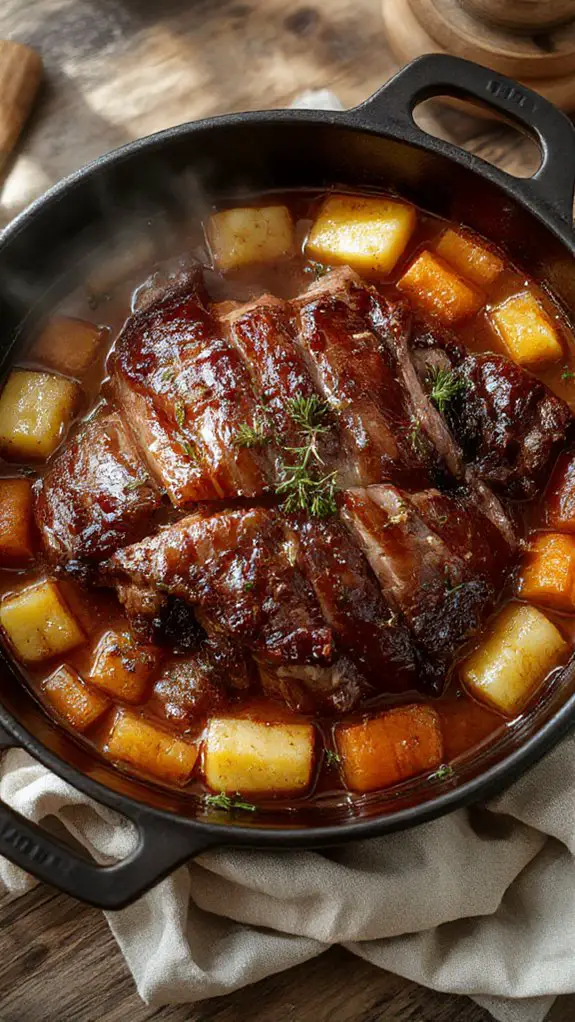
The magic of this pot roast lies in the perfect marriage of ingredients that transform a tough cut of beef into fork-tender perfection. Apple cider is your secret weapon here—it adds natural sweetness and acidity that breaks down those stubborn muscle fibers while infusing the meat with incredible depth. Don’t even think about skipping the fresh herbs; they’re what separate this from ordinary pot roast and give it that restaurant-quality finish.
For the Roast:
- 3-4 lb chuck roast – This marbled cut is non-negotiable; it has the fat content needed for serious flavor and tenderness
- 2 cups apple cider – The real MVP ingredient; avoid apple juice as it lacks the complexity you need
- 2 tbsp olive oil – For that gorgeous golden sear that locks in flavor
- 1 large yellow onion, sliced – Sweet onions work beautifully if you want extra caramelization
- 3 carrots, cut into 2-inch pieces – Baby carrots work in a pinch, but whole carrots have better texture
- 1 lb baby potatoes, halved – Yukon Gold regular potatoes work too; just cut them into chunks
- 4 cloves garlic, minced – Fresh only—powdered won’t give you that aromatic punch
Seasonings & Aromatics:
- 2 bay leaves – Fresh if you can find them, but dried work perfectly fine
- 3 sprigs fresh thyme – Dried thyme (1 tsp) substitutes well, but fresh is worth seeking out
- 2 sprigs fresh rosemary – This herb is essential for that earthy, pine-like note
- 1 tsp salt – Kosher salt distributes more evenly than table salt
- ½ tsp black pepper – Freshly cracked makes a noticeable difference
- 2 tbsp tomato paste – Adds umami depth; don’t skip this flavor booster
- 2 tbsp flour – For thickening the incredible pan sauce you’ll create
How to Make the Best Slow-Cooked Fall Comfort Meal
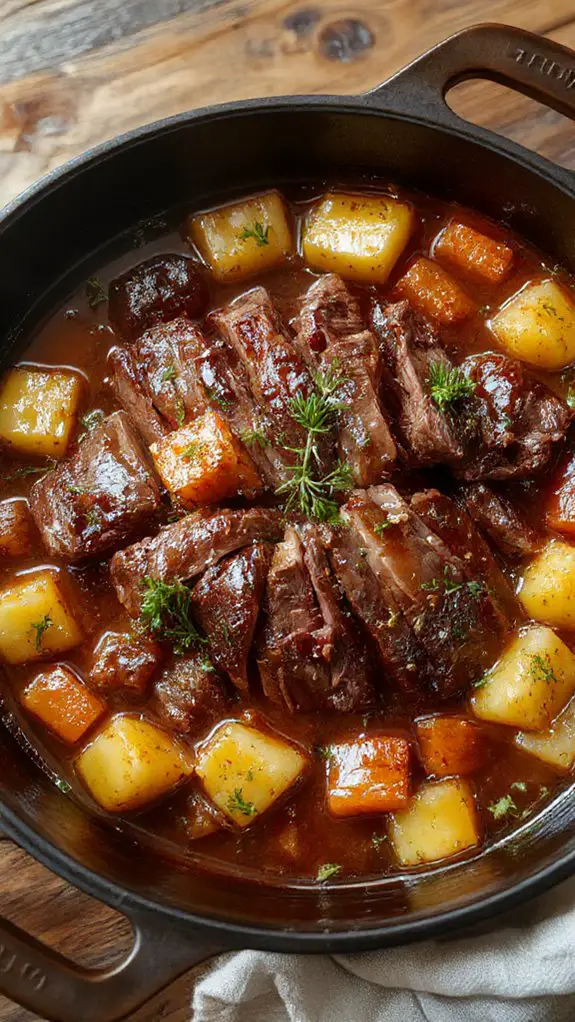
• Season the pot roast generously with salt and pepper on all sides, then let it sit at room temperature for 30 minutes before cooking.
Pat the meat completely dry with paper towels first—this guarantees better browning.
Bringing the roast to room temperature helps it cook more evenly throughout, preventing a cold center while the outside overcooks.
• Heat oil in a heavy Dutch oven or large pot over medium-high heat until it shimmers, then sear the roast for 4-5 minutes per side until deeply golden brown.
Don’t move the meat once it hits the pan—let it develop that beautiful crust which adds incredible flavor to the final dish.
You’ll know it’s ready to flip when it releases easily from the bottom of the pot.
• Remove the roast to a plate and reduce heat to medium, then add diced onions, carrots, and celery to the same pot without cleaning it.
Those browned bits stuck to the bottom are pure gold—they’ll dissolve into the vegetables and create layers of flavor.
Cook the vegetables for 5-6 minutes until they start to soften and pick up some color.
• Add minced garlic, fresh thyme, and rosemary to the vegetables, stirring constantly for 30 seconds until fragrant.
Garlic burns quickly, so keep it moving and don’t let it sit in one spot.
You’ll smell the herbs release their oils—that’s your cue that they’re perfectly toasted.
• Pour in apple cider slowly while scraping up any browned bits from the bottom of the pot with a wooden spoon.
This step, called deglazing, captures all those caramelized flavors and prevents them from burning.
The acid in the cider helps break down tough fibers in the meat during the long cooking process.
• Add beef broth, tomato paste, and a bay leaf, then nestle the seared roast back into the pot with any accumulated juices.
The liquid should come about halfway up the sides of the roast—add more broth if needed.
Those meat juices that collected on the plate contain concentrated flavor, so don’t waste a drop.
Using a enamel-coated cast iron Dutch oven ensures even heat distribution and prevents the meat from sticking during the long cooking process.
• Bring the liquid to a gentle simmer, then cover tightly and transfer to a preheated 325°F oven for 2.5 to 3 hours.
Low and slow is the secret to melt-in-your-mouth pot roast.
Check after 2.5 hours by testing with a fork—it should slide in easily and the meat should start to fall apart.
• Add quartered potatoes and large carrot chunks around the roast during the last hour of cooking.
Cut vegetables larger than you think you should—they’ll shrink as they cook and absorb the incredible braising liquid.
Smaller pieces will turn to mush during the long cooking time.
• Test for doneness by checking if the meat shreds easily with two forks, then remove the bay leaf before serving.
The roast is perfectly done when it falls apart at the touch of a fork.
Let it rest for 10 minutes before slicing to allow the juices to redistribute throughout the meat.
• Strain the cooking liquid and skim off excess fat, then serve the rich braising sauce alongside the roast and vegetables.
Tilt the pot and use a large spoon to remove the fat that rises to the surface, or use a fat separator for cleaner results.
This sauce is liquid gold—don’t serve the roast without it.
Chef Tips
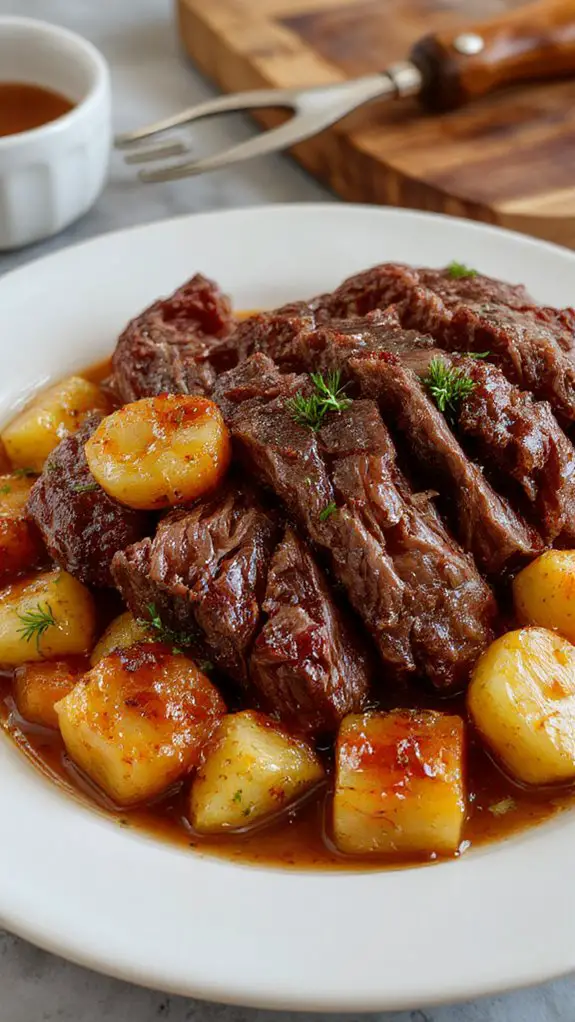
While this recipe delivers excellent results as written, several chef techniques can elevate your pot roast from good to restaurant-quality.
I recommend honing your knife skills for uniform vegetable cuts, ensuring even cooking.
Master temperature control by maintaining steady heat throughout braising.
Don’t skip searing—it creates essential flavor compounds that transform your dish.
Using high carbon steel knives will ensure your vegetables and meat are cut with precision and ease.
Nutrition
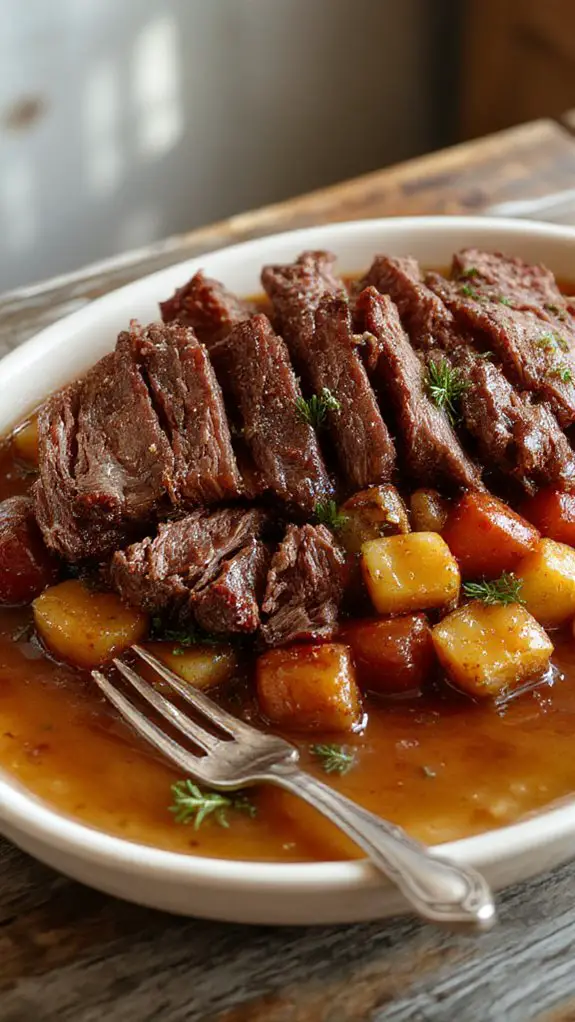
Apple cider braised pot roast provides a hearty, protein-rich meal with balanced macronutrients. This comfort food dish offers essential vitamins and minerals while delivering satisfying flavors.
| Nutrient | Amount per Serving |
|---|---|
| Calories | 485 |
| Total Fat | 18g |
| Saturated Fat | 7g |
| Cholesterol | 142mg |
| Sodium | 890mg |
| Total Carbohydrates | 22g |
| Dietary Fiber | 3g |
| Sugars | 16g |
| Protein | 58g |
| Vitamin A | 184% DV |
| Vitamin C | 12% DV |
| Iron | 28% DV |
| Potassium | 1,245mg |
| Calcium | 6% DV |
What You’ll Love About This Recipe
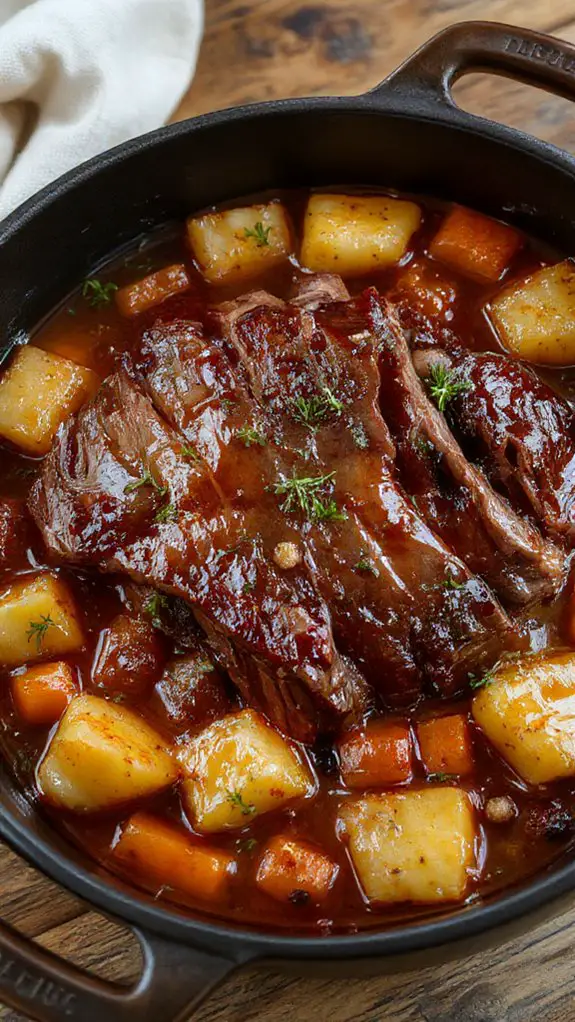
This apple cider braised pot roast brings together the cozy flavors of fall with the comfort of a classic Sunday dinner, creating something truly special for your table.
The combination of tender beef, sweet apple cider, and aromatic herbs transforms an ordinary weeknight into a memorable meal that fills your home with the most incredible aroma.
The meat becomes incredibly tender – After hours of slow braising in apple cider, even the toughest cuts of beef turn fork-tender and practically fall apart, making every bite melt in your mouth like butter.
Minimal prep with maximum flavor – You simply sear the roast, add your ingredients to one pot, and let the oven do all the work while you relax, yet the final result tastes like you spent all day in the kitchen.
Perfect for entertaining or meal prep – This recipe easily feeds a crowd and tastes even better the next day, so you can make it ahead for dinner parties or enjoy delicious leftovers throughout the week without any extra effort.
Recipe Card
This comforting Apple Cider Braised Pot Roast transforms a tough cut of beef into a tender, flavorful centerpiece perfect for fall and winter dining. The natural sweetness of apple cider creates a rich braising liquid that infuses the meat with seasonal flavors while keeping it incredibly moist and succulent. For optimal results, use a cast iron skillet to sear the roast, ensuring even heat distribution and a perfect crust.
Ingredients:
- 3-4 lb chuck roast or beef brisket
- 2 tablespoons vegetable oil
- 1 large onion, sliced
- 3 carrots, cut into 2-inch pieces
- 3 celery stalks, cut into 2-inch pieces
- 4 cloves garlic, minced
- 2 cups apple cider
- 1 cup beef broth
- 2 tablespoons apple cider vinegar
- 2 bay leaves
- 2 sprigs fresh thyme
- 1 sprig fresh rosemary
- Salt and black pepper to taste
- 2 tablespoons cornstarch (optional, for thickening)
Instructions:
- Preheat oven to 325°F. Season the roast generously with salt and pepper on all sides.
- Heat vegetable oil in a Dutch oven over medium-high heat. Sear the roast until browned on all sides, about 3-4 minutes per side. Remove and set aside.
- Add onions to the same pot and cook until softened, about 5 minutes. Add garlic and cook for another minute.
- Pour in apple cider and beef broth, scraping up any browned bits from the bottom of the pot.
- Add apple cider vinegar, bay leaves, thyme, and rosemary. Return the roast to the pot.
- Add carrots and celery around the roast. Bring to a simmer on the stovetop.
- Cover and transfer to the oven. Braise for 2.5-3 hours until the meat is fork-tender.
- Remove the roast and vegetables. Strain the braising liquid and return to pot. If desired, whisk cornstarch with 2 tablespoons cold water and stir into liquid to thicken.
- Let roast rest for 10 minutes before slicing and serving with the vegetables and sauce.
Notes:
Choose a well-marbled chuck roast for best results. The connective tissue breaks down during the long braising process, creating incredibly tender meat. Fresh apple cider works better than juice for deeper flavor complexity.
Equipment:
Dutch oven or heavy braising pot with tight-fitting lid
Time:
Prep time: 20 minutes
Cooking time: 3 hours
Cuisine:
American
Serving:
6-8 servings
Frequently Asked Questions
Can I Make This Recipe in a Regular Oven Instead of Slow Cooker?
Yes, I’d recommend using a 325°F oven temperature and increasing the cook time to about 3-4 hours. You’ll get the same tender, flavorful results with proper braising technique.
What’s the Best Cut of Beef to Use for Pot Roast?
I recommend beef chuck roast as the best cut since it becomes incredibly tender when braised. Brisket selection works well too, but chuck’s marbling and connective tissue make it ideal for slow cooking methods.
Can I Substitute Apple Juice if I Don’t Have Apple Cider?
Yes, I’d recommend apple juice as one of the best cider alternatives for your juice selection. It’ll provide similar sweetness and apple flavor, though it’s less complex than traditional cider for braising.
How Long Will Leftovers Keep in the Refrigerator?
I’d recommend storing your leftovers for 3-4 days maximum in the refrigerator. For proper leftover safety, keep them in airtight containers and reheat thoroughly before serving. The storage duration maintains peak quality and food safety.
Can This Recipe Be Frozen After Cooking?
Yes, I recommend freezing this dish after cooking. My storage tips include cooling completely first, then transferring to freezer-safe containers. Following proper freezing instructions, it’ll keep for up to three months frozen.

