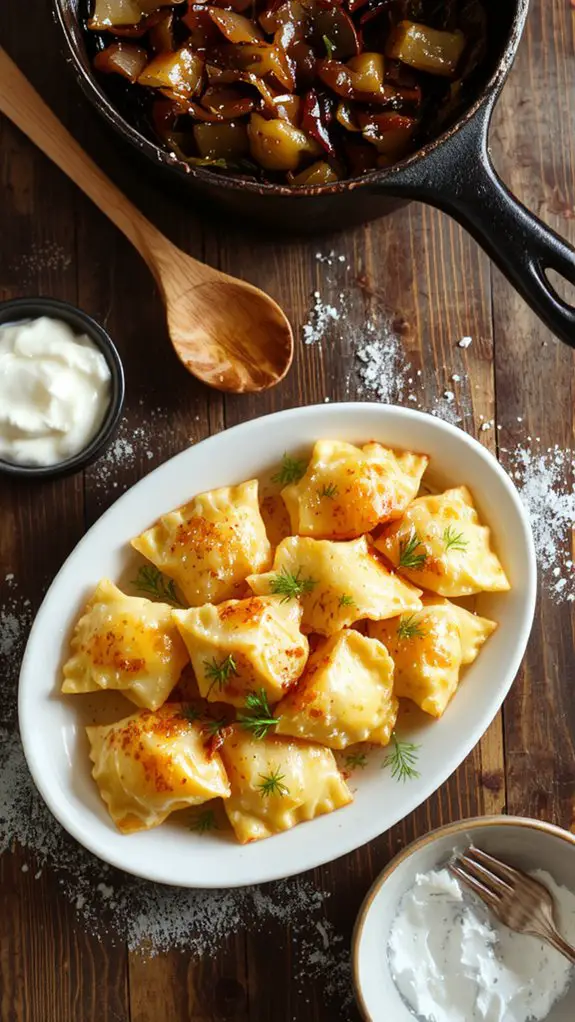
I’ve tried countless pierogi recipes, but this one stands out for its simplicity and perfect balance of flavors. The dough comes together effortlessly, with just four basic ingredients, while the filling combines creamy mashed potatoes, sharp cheddar, and caramelized onions. It’s a dish that feels both comforting and versatile, and the best part? You can make a big batch and freeze them for easy meals later. There’s more to it than just a dumpling.
Recipe
There’s something magical about homemade pierogi—soft, pillowy dumplings filled with creamy, savory, or sweet goodness that practically melt in your mouth. Once you’ve tried these, store-bought versions will never compare.
The secret? A simple, no-fuss dough that’s tender yet sturdy, paired with fillings that let you get creative—think velvety mashed potatoes with caramelized onions or tangy farmer’s cheese speckled with fresh herbs.
Making pierogi from scratch might seem intimidating, but trust me, it’s easier than you think and so worth the effort. Whether you’re channeling your inner Polish grandma (or just want to feel like one), these are a labor of love that will have everyone at the table reaching for seconds.
The best part? You can freeze them for those nights when you need a comforting meal in minutes. Let’s get started—your taste buds will thank you!
Ingredients
For the perfect homemade pierogi, the dough is just as important as the filling—soft, tender, and easy to work with. The filling is where you can get creative, but a classic potato and cheese combo is always a winner. Here’s what you’ll need, with a few chef-approved tips to guarantee success.
For the Dough:
- All-purpose flour – The backbone of the dough. Use a kitchen scale to measure precisely for the best texture.
- Egg – Adds richness and helps bind the dough.
- Sour cream – The secret to a soft, pliable dough. Full-fat is best.
- Water – Use ice-cold water to keep the dough from becoming too sticky.
- Salt – Enhances the dough’s flavor.
For the Classic Potato and Cheese Filling:
- Russet potatoes – Their starchy texture makes for a creamy filling.
- Sharp cheddar cheese – Adds a tangy punch. Swap for farmer’s cheese if you want authenticity.
- Butter – Makes the filling rich and velvety.
Here’s what you’ll need, with a few chef-approved tips to secure success.
For Cooking and Serving:
– Butter – For sautéing the pierogi to golden perfection.
2. Onions – Caramelized onions are a must for topping—they add sweetness and depth.
3. Sour cream – A dollop on the side is non-negotiable.
4. Fresh herbs – Optional, but chopped dill or chives add a fresh finish.
Pro Tip: If you’re short on time, store-bought mashed potatoes can work for the filling—just make sure they’re not too seasoned.
And don’t skip the sour cream in the dough—it’s the key to achieving that tender, melt-in-your-mouth texture.
How to Make the Best Recipe Naming Guidelines

– Optional sauté: For extra flavor, heat a skillet with butter or oil over medium heat. Sauté the boiled pierogi until golden brown on both sides, about 2-3 minutes per side.
*This step adds a crispy texture and enhances the flavor.*
– Serve warm: Serve pierogi with sour cream, sautéed onions, or your favorite toppings.
*Pierogi are best enjoyed fresh but can be frozen for later use—just boil or sauté directly from frozen.*
– Pro tip: If you’re short on time, roll out the dough and cut circles in advance, then store them layered with parchment paper in the fridge.
*This trick saves time without compromising the dough’s quality.*
– Watch out: Avoid overfilling the pierogi, as this can cause them to burst during cooking.
*A tablespoon of filling is usually the perfect amount.*
Nutrition
Pierogi are a delicious and versatile dish. Here’s the nutritional breakdown per serving.
| Nutrition | Amount per Serving |
|---|---|
| Calories | 300 kcal |
| Total Fat | 10 g |
| Saturated Fat | 4 g |
| Cholesterol | 30 mg |
| Sodium | 400 mg |
| Total Carbohydrates | 45 g |
| Dietary Fiber | 2 g |
| Sugars | 2 g |
| Protein | 8 g |
Chef Tips
Making perfect pierogi can seem intimidating, but I’ve found a few tricks that make the process much easier. Knead the dough until smooth to prevent tearing.
Roll it thin for a delicate texture, but not too thin to avoid splitting. Seal edges tightly by pressing firmly with a fork or your fingers.
Boil in salted water before frying for a crispy exterior. Experiment with fillings to find your favorite.


