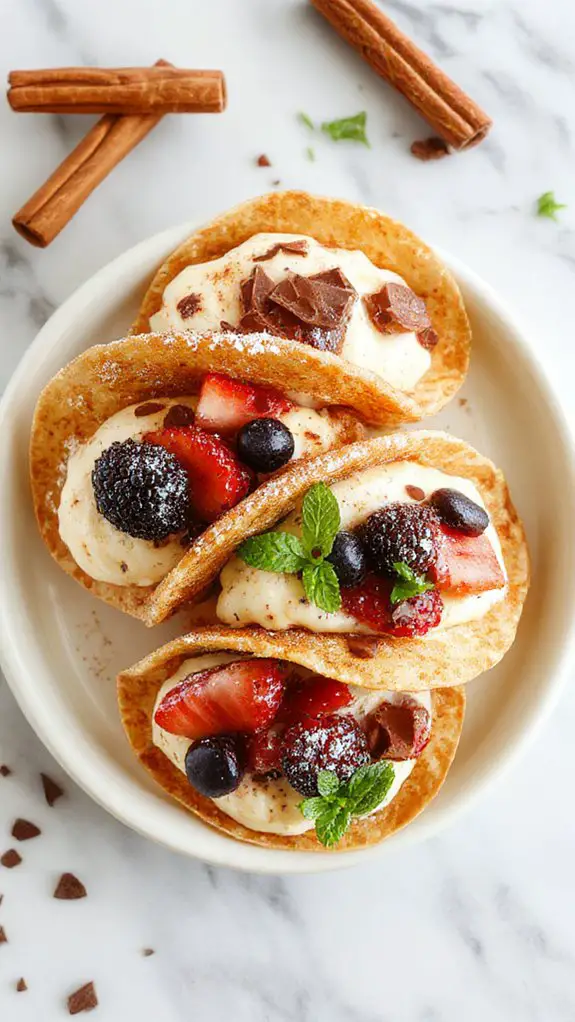
I’ve been experimenting with dessert fusion lately, and these cheesecake tacos have completely changed how I think about serving classic flavors. The combination of crispy cinnamon-sugar shells with that impossibly smooth cheesecake filling creates something unexpected yet familiar. What started as a playful kitchen experiment has turned into my go-to dessert when I want to surprise guests with something they’ve never experienced before.
Recipe
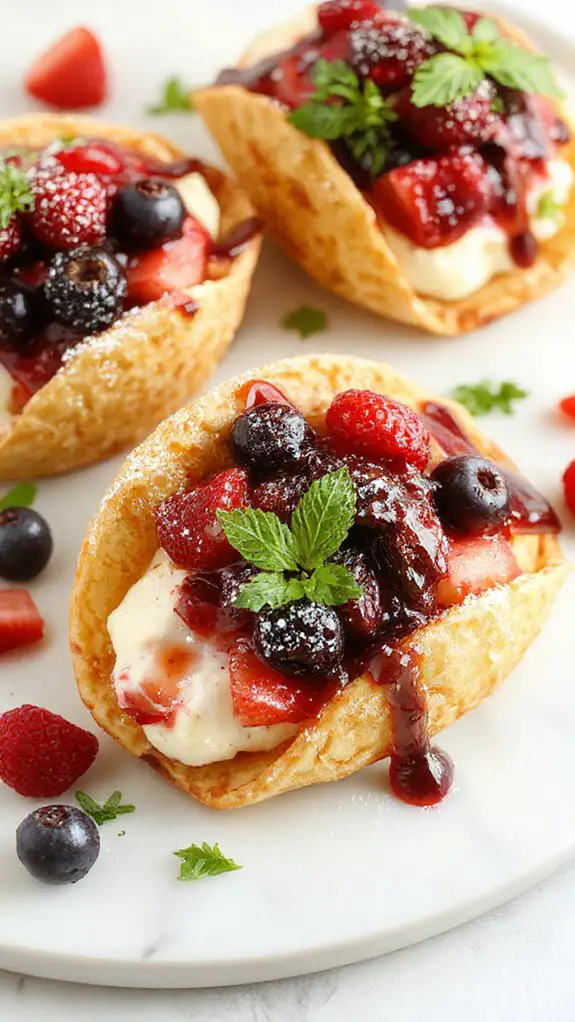
I can tell you with absolute certainty that these cheesecake tacos will be the most talked-about dessert you’ve ever served—seriously, people will be asking for the recipe before they’ve even finished their first bite!
What makes these so incredibly special is the genius combination of crispy cinnamon-sugar tortilla shells that shatter perfectly with each bite, paired with the silkiest, most luxurious cream cheese filling that tastes like it came straight from your favorite New York cheesecake shop.
I’ve been perfecting this recipe for years, and let me tell you, the secret is in using full-fat cream cheese at room temperature and adding just a touch of vanilla bean paste—trust me, you can absolutely taste the difference between this and regular vanilla extract.
Picture this: you bite through that golden, slightly sweet tortilla shell and it gives way to a cloud of rich, tangy cheesecake filling that’s been brightened with fresh lemon zest, then topped with whatever makes your heart sing—fresh berries, chocolate chips, caramel drizzle, or even a sprinkle of graham cracker crumbs for that classic cheesecake experience.
The beauty of these little handheld treasures is that they look incredibly impressive but are surprisingly simple to make, and the best part is you can prep the shells and filling separately, then assemble them right before serving for maximum wow factor.
Ingredients
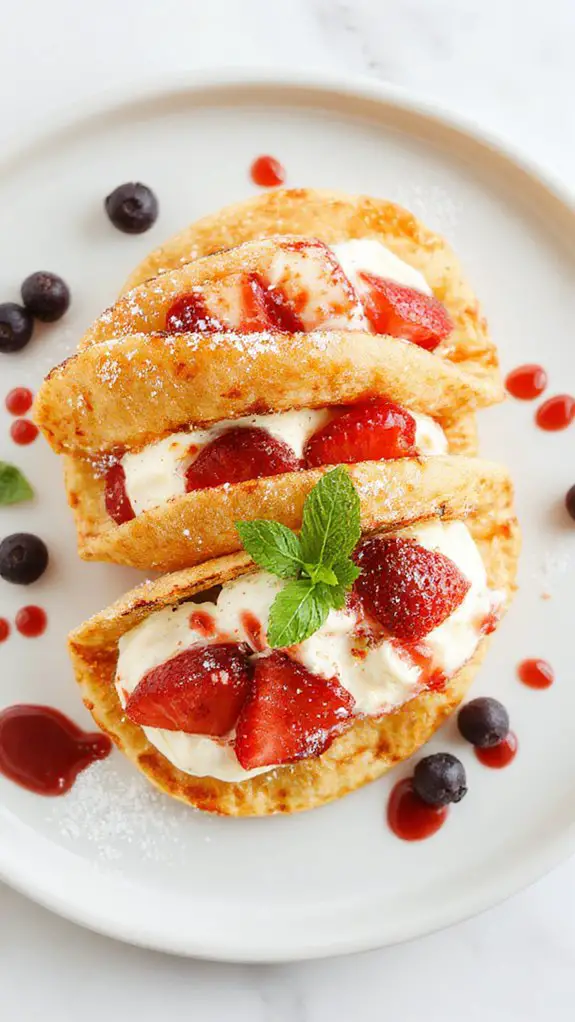
This dessert mashup sounds wild, but trust me—the magic is all in getting your ingredients right. The beauty of cheesecake tacos lies in balancing that rich, creamy filling with a crisp shell that won’t soggy out on you. I’m about to share the exact lineup that makes these little handheld beauties absolutely irresistible.
For the Taco Shells:
- 12 flour tortillas (6-inch) – Soft flour tortillas are non-negotiable here; corn will crack and fall apart
- 3 tablespoons melted butter – This creates that golden, crispy shell that holds everything together
- 2 tablespoons cinnamon sugar – Mix 2 tablespoons sugar with 1 teaspoon cinnamon for that sweet coating
For the Cheesecake Filling:
- 16 oz cream cheese, softened – Room temperature is essential—cold cream cheese will leave you with lumps no matter how long you beat it
- 1 cup powdered sugar – Smoother than granulated and dissolves instantly
- 1 teaspoon vanilla extract – Pure vanilla only; imitation tastes cheap in something this simple
- 1½ cups heavy whipping cream – This is what makes the filling light and pipeable instead of dense brick-like cheesecake
- 2 tablespoons fresh lemon juice – Brightens the richness and prevents that cloying sweetness
For the Toppings:
- 2 cups fresh strawberries, diced – Fresh is mandatory; frozen will make everything watery
- 1 cup fresh blueberries – Or raspberries if you’re feeling fancy
- ¼ cup mini chocolate chips – Optional but they add that fun textural surprise
- Graham cracker crumbs – About ½ cup for sprinkling; gives that classic cheesecake vibe
- Fresh mint leaves – For garnish and that pop of color that screams “I know what I’m doing”
How to Make the Best Sweet Dessert Taco Innovation
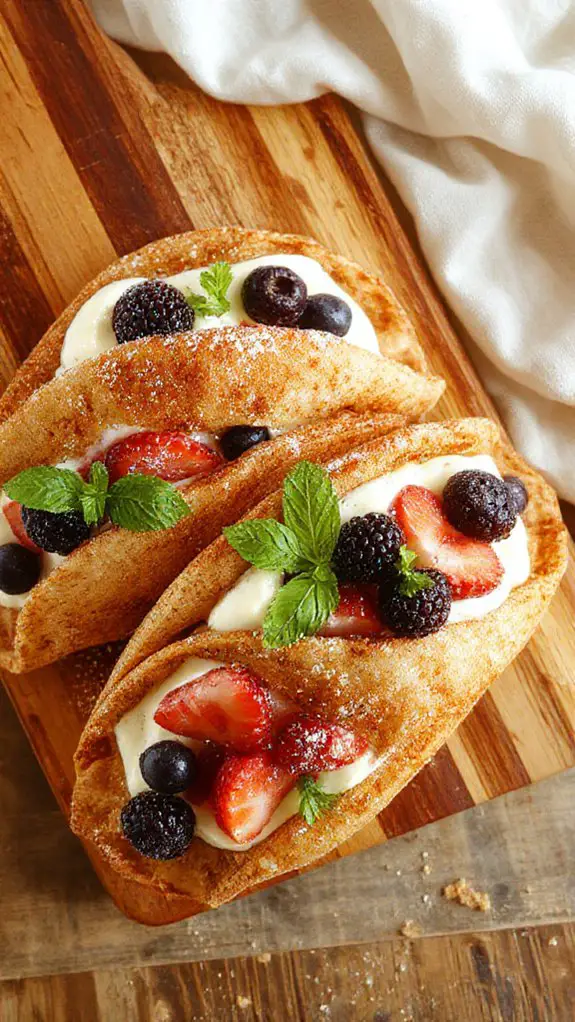
Make the taco shells by preparing your cinnamon sugar tortillas first.
Start with soft flour tortillas at room temperature—they’ll be easier to work with and less likely to crack. Brush both sides lightly with melted butter, then sprinkle generously with cinnamon sugar mixture. The butter helps the cinnamon sugar stick and creates that golden, crispy finish we’re after.
Shape the tortillas into taco shells using an inverted muffin tin.
Drape each prepared tortilla over the bottom of an upside-down muffin cup, gently pressing to create that classic taco shell curve. This method gives you perfectly shaped shells every time.
If you don’t have a muffin tin, you can carefully drape them over the edge of a baking dish—just make sure they won’t slide around.
Bake the shells at 400°F for 8-10 minutes until golden and crispy.
Watch them closely during the last few minutes—they can go from perfect to burnt quickly. You’ll know they’re ready when the edges are golden brown and they feel firm to the touch.
Let them cool completely on the muffin tin before removing, as they’ll continue to crisp up and hold their shape better.
Prepare the cheesecake filling while the shells cool.
Beat the cream cheese until completely smooth and fluffy—this is essential for avoiding lumps in your final product. Make sure your cream cheese is at room temperature; cold cream cheese will create a lumpy mess no matter how long you beat it.
Add powdered sugar gradually and beat until well combined.
Fold in the whipped topping gently to maintain the light, airy texture.
Use a rubber spatula and fold from the bottom up, rotating the bowl as you go. This technique preserves the airiness of the whipped topping while ensuring everything is evenly combined.
Overmixing here will deflate your filling and make it dense instead of light and fluffy.
Add vanilla extract and any desired flavor variations.
A teaspoon of vanilla is classic, but this is where you can get creative—try lemon zest for brightness, or a tablespoon of cocoa powder for chocolate cheesecake tacos.
Mix these additions in gently, just until evenly distributed throughout the filling.
Prepare your fresh fruit toppings while keeping them as dry as possible.
Pat berries dry with paper towels and slice larger fruits just before serving to prevent excess moisture from making your shells soggy.
If using citrus fruits, let any excess juice drain off. Dry fruit means crispy shells that won’t get soggy during serving.
Assemble the tacos just before serving for maximum crispness.
Pipe or spoon the cheesecake filling into each cooled taco shell, filling them generously but not overstuffing. Add your fresh fruit toppings and any final garnishes like chocolate shavings or crushed cookies.
For best results, use a heavy-duty sheet to bake the taco shells, ensuring they cook evenly and maintain their shape. Serve immediately—these are best enjoyed fresh when the contrast between crispy shell and creamy filling is at its peak.
Chef Tips
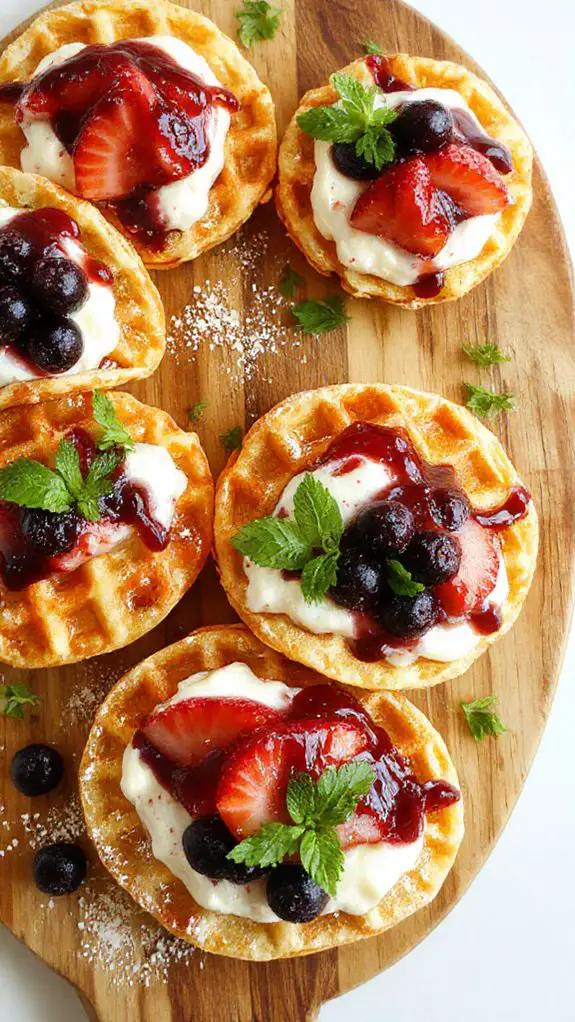
When working with cream cheese, I’ve learned that leaving it out for at least an hour before mixing makes all the difference in achieving that silky-smooth filling. For flavor pairings, I recommend berry compotes or caramel drizzles. Your plating presentation becomes restaurant-quality when you dust the plate with powdered sugar and add fresh mint garnishes. When mixing the filling, use a high-quality whisk to ensure even blending and prevent lumps.
Nutrition
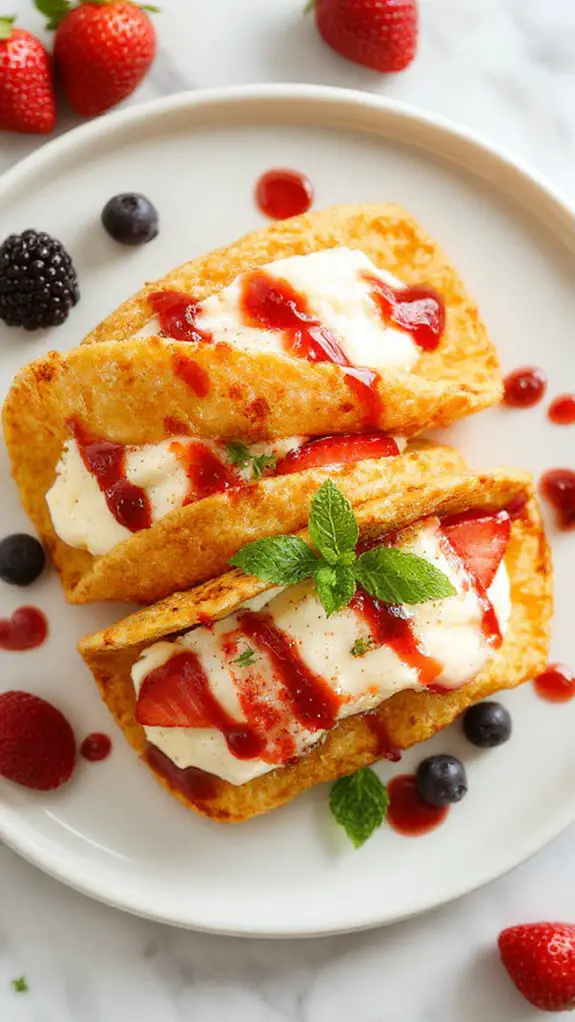
These delightful cheesecake tacos offer a unique dessert experience that combines the creamy richness of cheesecake with the fun format of a taco shell. Understanding the nutritional content helps you enjoy this treat as part of a balanced diet.
| Nutrient | Per Serving |
|---|---|
| Calories | 285 |
| Total Fat | 18g |
| Saturated Fat | 11g |
| Cholesterol | 75mg |
| Sodium | 180mg |
| Total Carbohydrates | 28g |
| Dietary Fiber | 1g |
| Sugars | 22g |
| Protein | 5g |
| Calcium | 80mg |
| Iron | 1mg |
| Vitamin A | 450 IU |
| Vitamin C | 2mg |
What You’ll Love About This Recipe
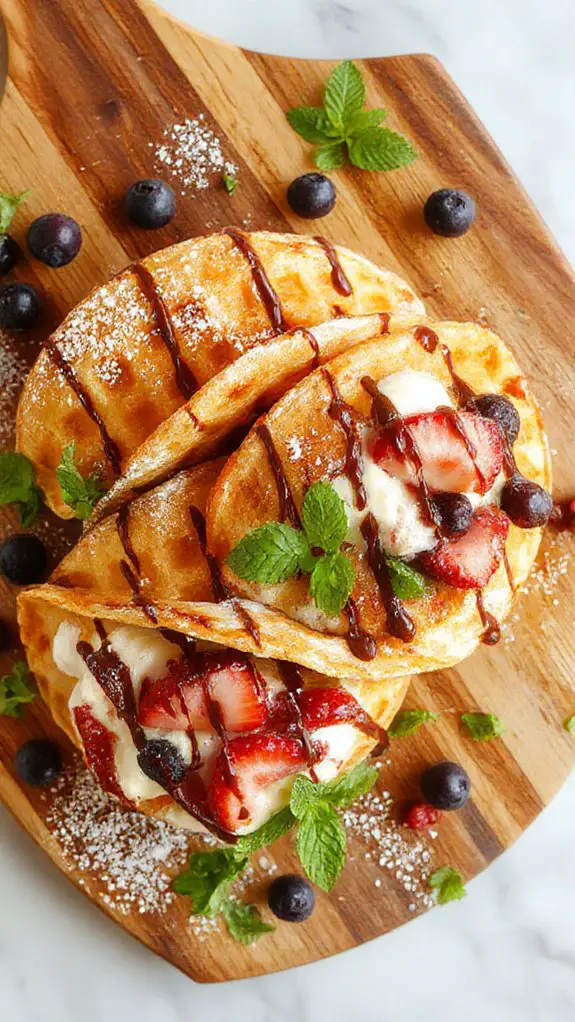
Get ready to fall head over heels for these amazing cheesecake tacos that combine two of everyone’s favorite treats into one incredible dessert! This recipe is so simple and fun, you’ll wonder why you never thought of putting creamy cheesecake filling into crispy cinnamon sugar taco shells before.
Perfect for parties and gatherings – These bite-sized beauties are way easier to serve than traditional cheesecake slices, and your guests will love the playful twist on classic dessert.
No-bake filling saves time – While the taco shells bake quickly in the oven, the luscious cheesecake filling comes together without any complicated steps or waiting for layers to set.
Endless topping possibilities – From fresh berries and chocolate chips to caramel drizzle and crushed cookies, you can customize each taco to match different tastes and make them look absolutely stunning.
Ensures even heat distribution – Using a heavy-gauge carbon steel pan for baking the taco shells guarantees consistent results without burnt edges.
Recipe Card
These delightful dessert tacos transform classic cheesecake into a fun, handheld treat that’s perfect for parties or special occasions. Crispy cinnamon-sugar tortilla shells are filled with rich, creamy cheesecake filling and topped with fresh berries and a drizzle of berry sauce for an irresistible combination of textures and flavors.
Ingredients:
- 6 small flour tortillas
- 2 tablespoons butter, melted
- 1/4 cup granulated sugar
- 1 teaspoon ground cinnamon
- 8 oz cream cheese, softened
- 1/2 cup powdered sugar
- 1 teaspoon vanilla extract
- 1 cup heavy whipping cream
- 1 cup mixed fresh berries (strawberries, blueberries, raspberries)
- 2 tablespoons honey
- 1 tablespoon lemon juice
Instructions:
- Preheat oven to 400°F. Brush both sides of tortillas with melted butter.
- Mix granulated sugar and cinnamon in a small bowl. Sprinkle mixture over both sides of tortillas.
- Drape tortillas over oven rack bars to form taco shell shapes. Bake for 8-10 minutes until crispy and golden. Cool completely.
- Beat cream cheese, powdered sugar, and vanilla until smooth and fluffy.
- In a separate bowl, whip heavy cream to stiff peaks. Fold whipped cream into cream cheese mixture.
- Combine berries, honey, and lemon juice for the topping.
- Fill each taco shell with cheesecake mixture and top with berry mixture.
- Serve immediately for best texture.
Notes:
- Tortilla shells can be made up to 2 days ahead and stored in an airtight container
- Cheesecake filling can be prepared 1 day in advance
- Assemble tacos just before serving to prevent shells from getting soggy
- Use taco holders or small bowls to keep assembled tacos upright
Equipment:
- Electric mixer with 10-speed settings for precise control over mixing consistency
- Mixing bowls
- Pastry brush
- Measuring cups and spoons
Prep Time: 20 minutes
Cooking Time: 10 minutes
Cuisine: Mexican-American Fusion
Serving: 6 tacos
Frequently Asked Questions
Can I Make Cheesecake Tacos Ahead of Time for Parties?
Yes, I’d recommend making cheesecake tacos ahead for party planning success. I suggest preparing components separately for ideal dessert prep – make filling and shells earlier, then assemble just before serving to maintain crispness.
What’s the Best Way to Store Leftover Cheesecake Tacos?
I store leftover cheesecake tacos in airtight storage containers in the refrigerator for up to three days. Different flavor variations maintain their taste best when separated into individual containers to prevent mixing.
Are There Gluten-Free Options for the Taco Shells?
Yes, I recommend using gluten free shells made from corn tortillas or rice paper. You can also try taco alternatives like coconut macaroons, almond flour crepes, or even chocolate wafer cookies for creative dessert presentations.
How Long Do Cheesecake Tacos Stay Fresh in the Refrigerator?
I’d recommend eating your cheesecake tacos within 2-3 days for best quality. My storage tips include covering them tightly and keeping shells separate from filling when possible to maintain ideal freshness duration.
Can I Freeze Cheesecake Tacos for Later Consumption?
Yes, I can freeze cheesecake tacos for up to three months. However, the taco texture may become slightly softer after thawing. For best freezing instructions, wrap individually in plastic wrap before placing in freezer-safe containers.
