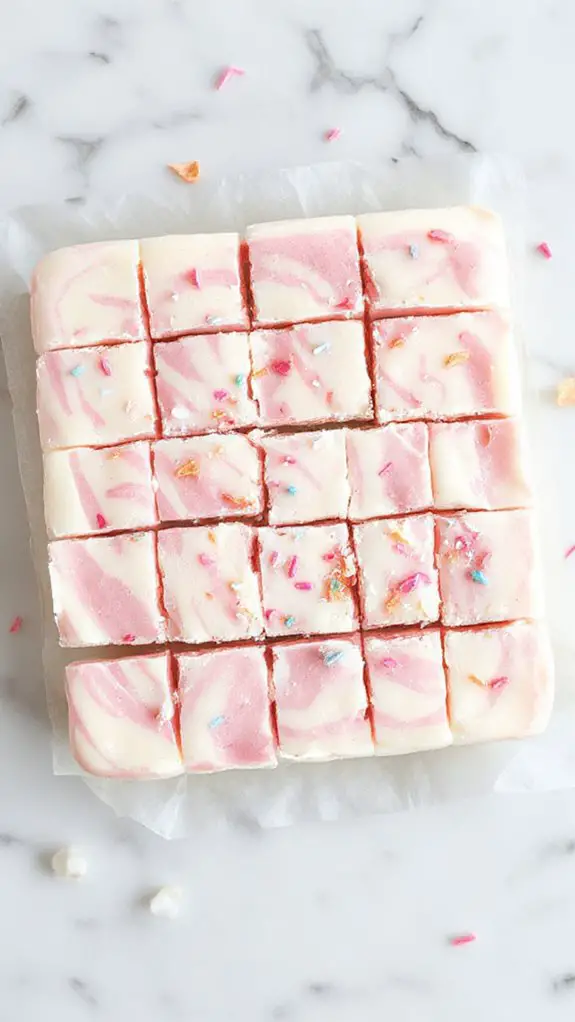
I’ve been perfecting this bubblegum cloud fudge for months, and I can tell you it’s nothing like the artificial-tasting treats you’ll find at most candy stores. The secret isn’t just in the bubblegum extract—it’s in how you layer the flavors and textures to create something that actually melts on your tongue. What surprised me most was discovering the one ingredient that transforms ordinary fudge into this pink, pillowy masterpiece.
Recipe
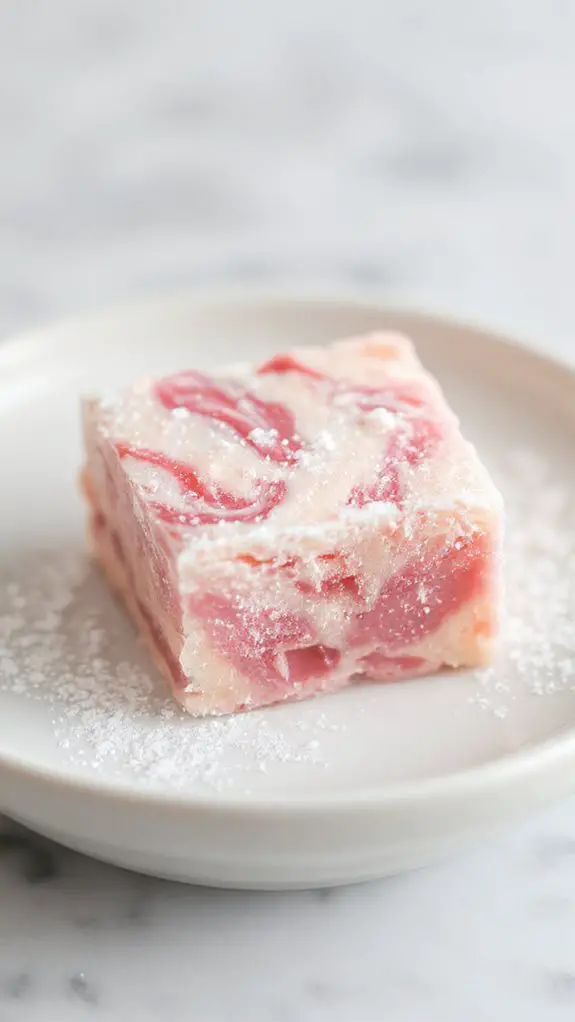
I can tell you with absolute certainty that this Bubblegum Cloud Fudge will become your new obsession – it’s the kind of treat that has people begging for the recipe after just one bite! What makes this fudge truly extraordinary is how it captures that nostalgic bubblegum flavor while delivering the smoothest, most melt-in-your-mouth texture you’ve ever experienced.
I’ve been perfecting this recipe for years, and my philosophy has always been simple: if you’re going to make fudge, it should be absolutely incredible, not just sweet. The secret lies in the perfect balance of real bubblegum extract and a touch of vanilla, combined with a foolproof technique that creates these amazing airy pockets throughout – hence the “cloud” in the name.
When you bite into a piece, you’ll first notice that unmistakable bubblegum aroma, followed by the way it practically dissolves on your tongue, leaving behind that playful, childhood flavor that somehow feels both whimsical and sophisticated. The beautiful pink swirls make it as stunning to look at as it’s to eat, and trust me, this recipe is so straightforward that even if you’ve never made fudge before, you’ll be amazed at how professional your results look and taste.
Ingredients
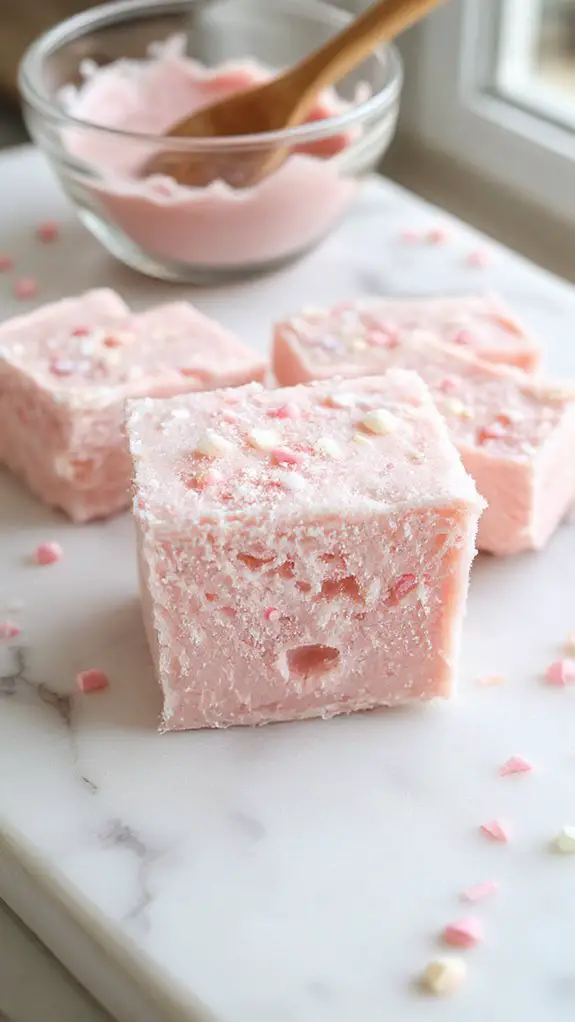
This dreamy fudge captures the whimsical essence of cotton candy clouds with its pillowy texture and nostalgic bubblegum flavor. The secret lies in using quality white chocolate as your base—it creates that signature creamy mouthfeel that makes each bite melt perfectly on your tongue.
Don’t even think about using white chocolate chips here; they contain stabilizers that prevent proper melting. Go for a good white chocolate bar every single time.
For the Fudge Base:
- 2 cups high-quality white chocolate, chopped – This is your non-negotiable foundation. Ghirardelli or Lindt work beautifully
- 1 can (14 oz) sweetened condensed milk – Creates that perfect fudgy consistency without the fuss of candy thermometers
- 3 tablespoons unsalted butter – Adds richness and helps achieve that glossy finish
- 1 teaspoon bubblegum extract – The star flavor! LorAnn is the gold standard, but vanilla extract works if you can’t find it
- Pink food coloring – Gel coloring gives you control without thinning the mixture
- Pinch of salt – Trust me, this amplifies the sweetness and makes everything pop
For the Cloud Effect:
- 1 cup mini marshmallows – These create pockets of fluff throughout. Regular marshmallows chopped up work too
- ½ cup cotton candy, torn into pieces – This dissolves slightly for ethereal streaks of color and extra sweetness
For the Finishing Touch:
- Extra cotton candy for topping – Makes it look like a magical cloud formation
- Edible pearl dust (optional) – A light dusting creates that dreamy shimmer effect
Line your pan with parchment paper before you start—this fudge sets quickly once you begin stirring, and you’ll thank yourself later for the easy removal. For the best results, avoid using metal utensils on your mixing bowls to prevent scratches and damage.
How to Make the Best Pink Cotton Candy Flavor
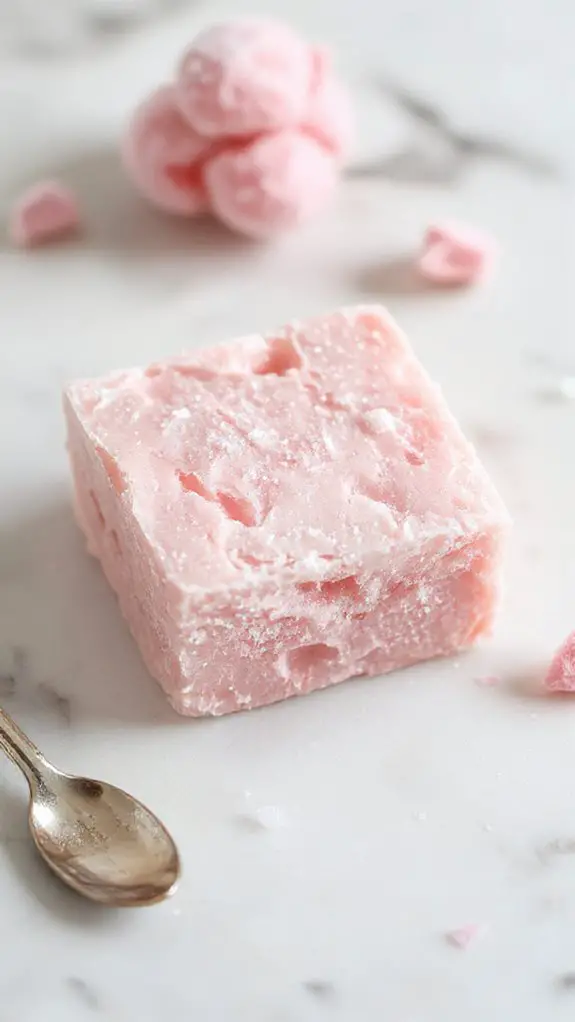
This step is essential for getting your fudge out in perfect squares later. The overhang acts like handles—trust me, you’ll thank yourself when it’s time to cut! If you only have foil, that works too, just give it a light butter coating to prevent sticking.
• Gather all ingredients and measure them out before you start cooking.
Fudge moves fast once you start, so having everything ready prevents panic moments. Make sure your cotton candy extract is within arm’s reach and your food coloring is already measured out. This isn’t the time to hunt through cabinets!
• Combine sugar, butter, and heavy cream in a heavy-bottomed saucepan over medium heat.
Heavy-bottomed pans distribute heat evenly, preventing those dreaded hot spots that can burn your sugar. Medium heat is key here—high heat will scorch the mixture before the sugar dissolves properly, leaving you with grainy fudge instead of silky smoothness.
• Stir constantly until the mixture reaches 234°F (soft ball stage) on a candy thermometer, recommended by America’s Test Kitchen for precise cooking.
This temperature is non-negotiable for proper fudge texture. Too low and your fudge won’t set; too high and it becomes hard candy.
The mixture will bubble vigorously—this is normal! Keep stirring to prevent sticking, and be patient. It usually takes 8-12 minutes to reach temperature.
• Remove from heat immediately and let cool for 2-3 minutes without stirring.
This cooling period prevents the fudge from becoming grainy. I know it’s tempting to keep stirring, but resist! Those few minutes allow the temperature to drop just enough for the next steps to work perfectly.
• Add cotton candy extract, vanilla, and pink food coloring, then beat vigorously with a wooden spoon for 2-3 minutes.
This beating action creates the smooth, creamy texture fudge is famous for. You’ll see the mixture go from glossy to slightly matte—that’s your cue that it’s ready. Start with just a few drops of food coloring; you can always add more, but you can’t take it back!
• Quickly fold in any mix-ins like cotton candy pieces or sprinkles before the fudge sets.
Work fast here! The fudge starts setting as it cools, so you have maybe 30 seconds to get those fun additions mixed in. Don’t overmix at this stage—just fold gently to distribute evenly.
• Pour immediately into your prepared pan and spread evenly with an offset spatula.
Speed matters here because fudge firms up quickly. An offset spatula gives you the smoothest top, but a regular butter knife works in a pinch. Don’t worry about making it absolutely perfect—rustic charm is part of homemade fudge’s appeal!
• Let cool completely at room temperature for at least 2 hours before cutting.
Patience pays off here! Cutting too early results in messy, soft squares that won’t hold their shape. If you’re in a hurry, 30 minutes in the refrigerator will speed things up, but room temperature cooling gives the best texture.
• Use the parchment overhang to lift the fudge out, then cut into squares with a sharp knife.
Clean your knife between cuts for the neatest squares—wiping with a damp paper towel works perfectly. If the fudge seems too soft to cut cleanly, pop it in the fridge for 15 minutes to firm up slightly.
Chef Tips
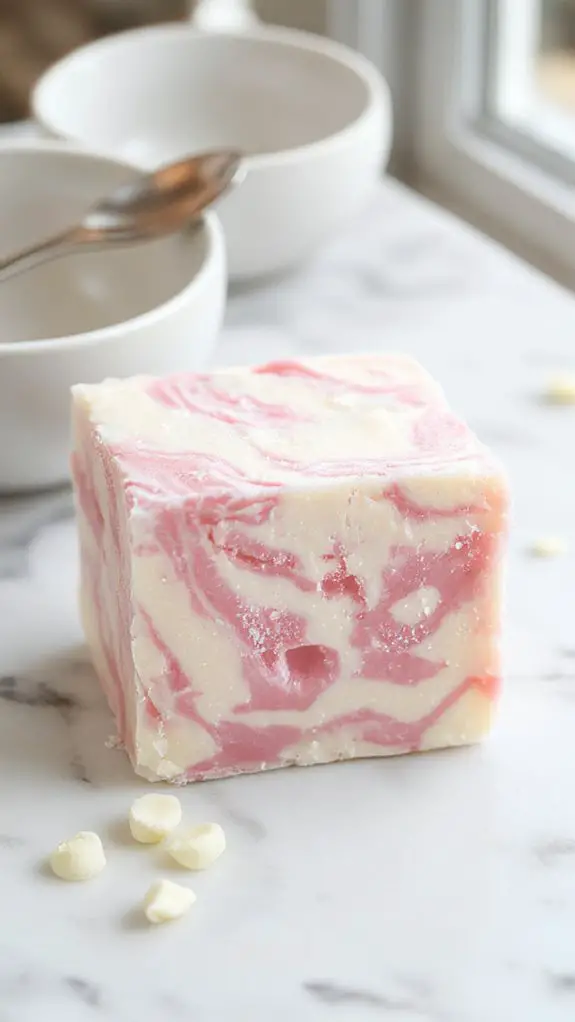
After making this recipe dozens of times, you’ll discover that timing truly makes or breaks bubblegum cloud fudge. I’ve learned that careful temperature monitoring prevents grainy texture. For ingredient substitutions, marshmallow fluff works instead of mini marshmallows. My best storage tips include airtight containers and parchment paper layers to maintain that perfect fluffy consistency. For precise measurements, consider using a digital kitchen scale to ensure accuracy in ingredient quantities.
Nutrition
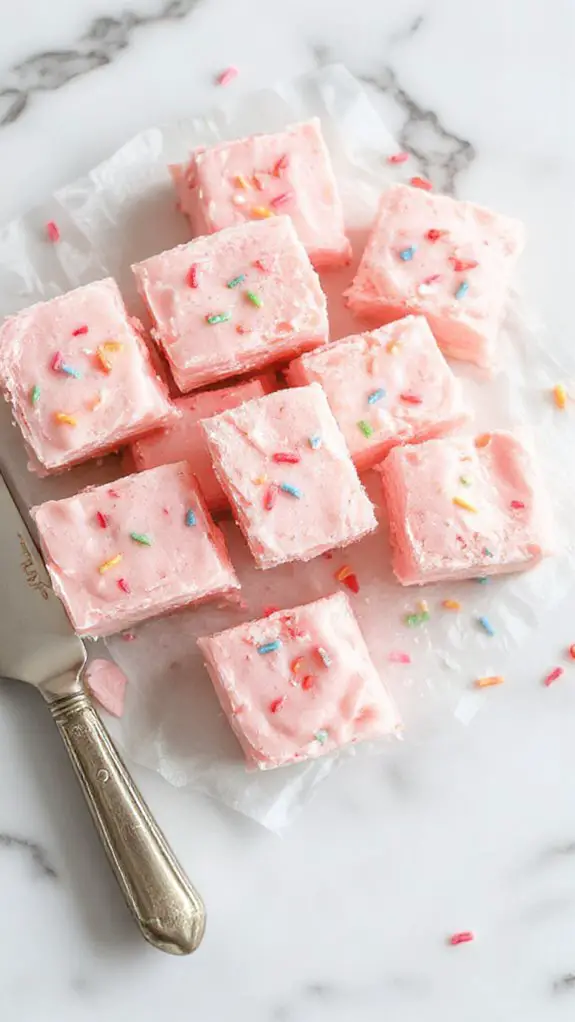
This indulgent treat is high in sugar and calories, making it best enjoyed in small portions. The nutrition information below is based on one piece (assuming the recipe yields 24 pieces).
| Nutrient | Amount per Piece |
|---|---|
| Calories | 285 |
| Total Fat | 12g |
| Saturated Fat | 8g |
| Cholesterol | 25mg |
| Sodium | 45mg |
| Total Carbohydrates | 46g |
| Dietary Fiber | 0g |
| Total Sugars | 44g |
| Added Sugars | 42g |
| Protein | 2g |
| Vitamin A | 8% DV |
| Calcium | 6% DV |
| Iron | 2% DV |
What You’ll Love About This Recipe
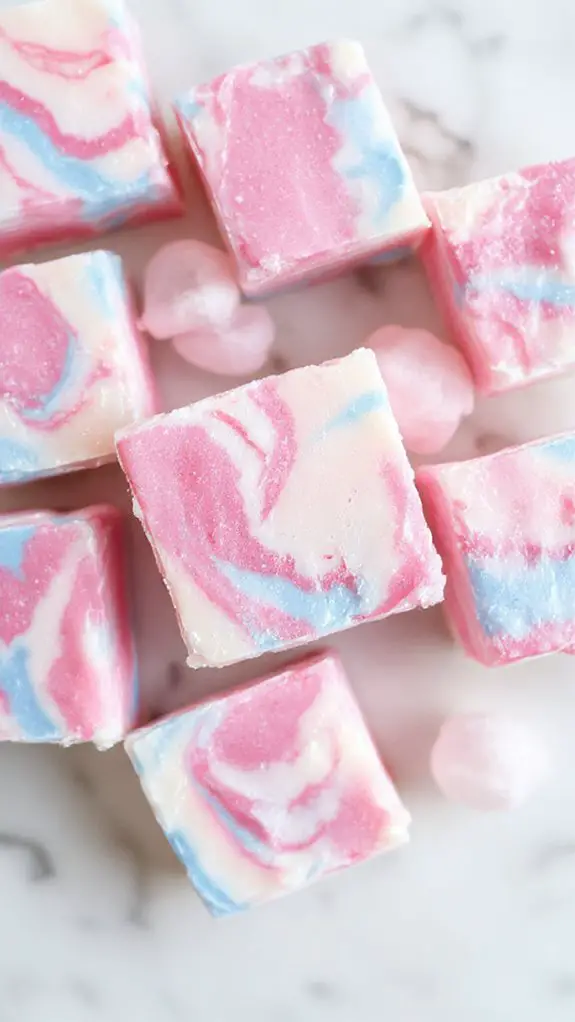
Get ready to fall in love with this whimsical treat that brings childhood nostalgia right to your kitchen. This Bubblegum Cloud Fudge combines the playful flavors you remember with the creamy, melt-in-your-mouth texture that makes fudge so irresistible.
Super Simple to Make – With just a handful of ingredients and no candy thermometer needed, this recipe comes together in about 15 minutes of active time, making it perfect for busy weekends or last-minute party treats.
Kid-Friendly Fun – The bright pink color and familiar bubblegum taste will have little ones squealing with delight, and they can even help with the mixing and decorating without any complicated steps.
Impressive Results Every Time – This foolproof recipe delivers bakery-quality fudge that looks like you spent hours in the kitchen, but your secret is safe with us about how easy it really was.
Recipe Card
This delightful no-bake confection combines the nostalgic flavor of bubblegum with the rich creaminess of homemade fudge, creating a whimsical treat that’s perfect for parties, gifts, or satisfying your sweet tooth. The vibrant pink color and unique bubblegum taste make this fudge a conversation starter that both kids and adults will love.
Ingredients:
- 3 cups white chocolate chips
- 1 (14 oz) can sweetened condensed milk
- 1 teaspoon bubblegum extract
- Pink food coloring
- 1/4 cup mini marshmallows
- 2 tablespoons butter
- Pinch of salt
Instructions:
- Line an 8×8 inch baking pan with parchment paper and lightly grease with butter.
- In a microwave-safe bowl, combine white chocolate chips, sweetened condensed milk, and butter.
- Microwave in 30-second intervals, stirring between each interval, until completely melted and smooth.
- Remove from microwave and immediately stir in bubblegum extract, pink food coloring, and salt until well combined.
- Fold in mini marshmallows gently.
- Pour mixture into prepared pan and spread evenly.
- Refrigerate for at least 2 hours or until completely set.
- Cut into squares and serve.
Notes:
- Adjust pink food coloring to achieve desired color intensity
- Store in refrigerator for up to one week in an airtight container
- For firmer fudge, chill for 4 hours before cutting
- Bubblegum extract can be found in specialty baking stores or online
Equipment:
- 8×8 inch baking pan
- Microwave-safe bowl
- Parchment paper
- Mixing spoon
Time:
- Prep time: 15 minutes
- Cooking time: 3 minutes
- Chilling time: 2 hours
Cuisine: American
Serving: 16 squares
Frequently Asked Questions
Can I Make This Fudge Without a Candy Thermometer?
Yes, you can make fudge without one! I’ll use a thermometer alternative like the cold water test for temperature estimation. Drop syrup into cold water – it should form a soft ball when ready.
How Long Does Homemade Bubblegum Fudge Last at Room Temperature?
Your homemade bubblegum fudge’s shelf life is about one week at room temperature. I recommend these storage tips: keep it in an airtight container away from heat and humidity for best results.
What’s the Best Way to Cut Fudge Into Clean Squares?
I recommend using a sharp knife with proper knife technique – run it under warm water between cuts. The cooling method matters too; let your fudge cool completely before cutting for cleanest squares.
Can This Recipe Be Doubled for Larger Batches?
Yes, I’ve successfully doubled this recipe many times. When batch scaling, maintain the same cooking temperature and timing. The main recipe adjustment needed is using a larger pan to accommodate the increased volume.
Why Did My Fudge Turn Out Grainy or Crystallized?
Your fudge likely crystallized because I didn’t control the cooking temperature properly or used wrong sugar types. I recommend using a candy thermometer and avoiding stirring once the mixture starts boiling to prevent graininess.
